How to Find Roof Leaks in Your UK Home
Learn how to find roof leaks with our expert guide. We share practical, safe inspection tips to protect your UK home from water damage. Read more now.
That tell-tale discoloured patch on your ceiling is often the first, most alarming sign that you might have a roof leak. Acting quickly is crucial, as even a small amount of water getting in can lead to much bigger problems like damaged timbers or widespread damp, especially with the UK's notoriously wet weather.
Decoding the First Signs of a Roof Leak
When you first suspect a leak, the best place to start your investigation is safely inside your home. While a dark stain on a ceiling is the most obvious clue, don't be fooled. Water is deceptive and can travel a long way from where it actually gets in.
Just last month, we were called to a property in Huddersfield where the homeowner had a damp patch appearing in the middle of their master bedroom ceiling. It seemed to come from nowhere. After a careful inspection in the loft, we traced the water back almost three metres. The culprit? A single cracked tile right next to the chimney stack. The water was getting in, running down the felt, and then dripping onto the ceiling joist far away from the source. This is why a thorough check is so important.
Look Beyond the Obvious Stains
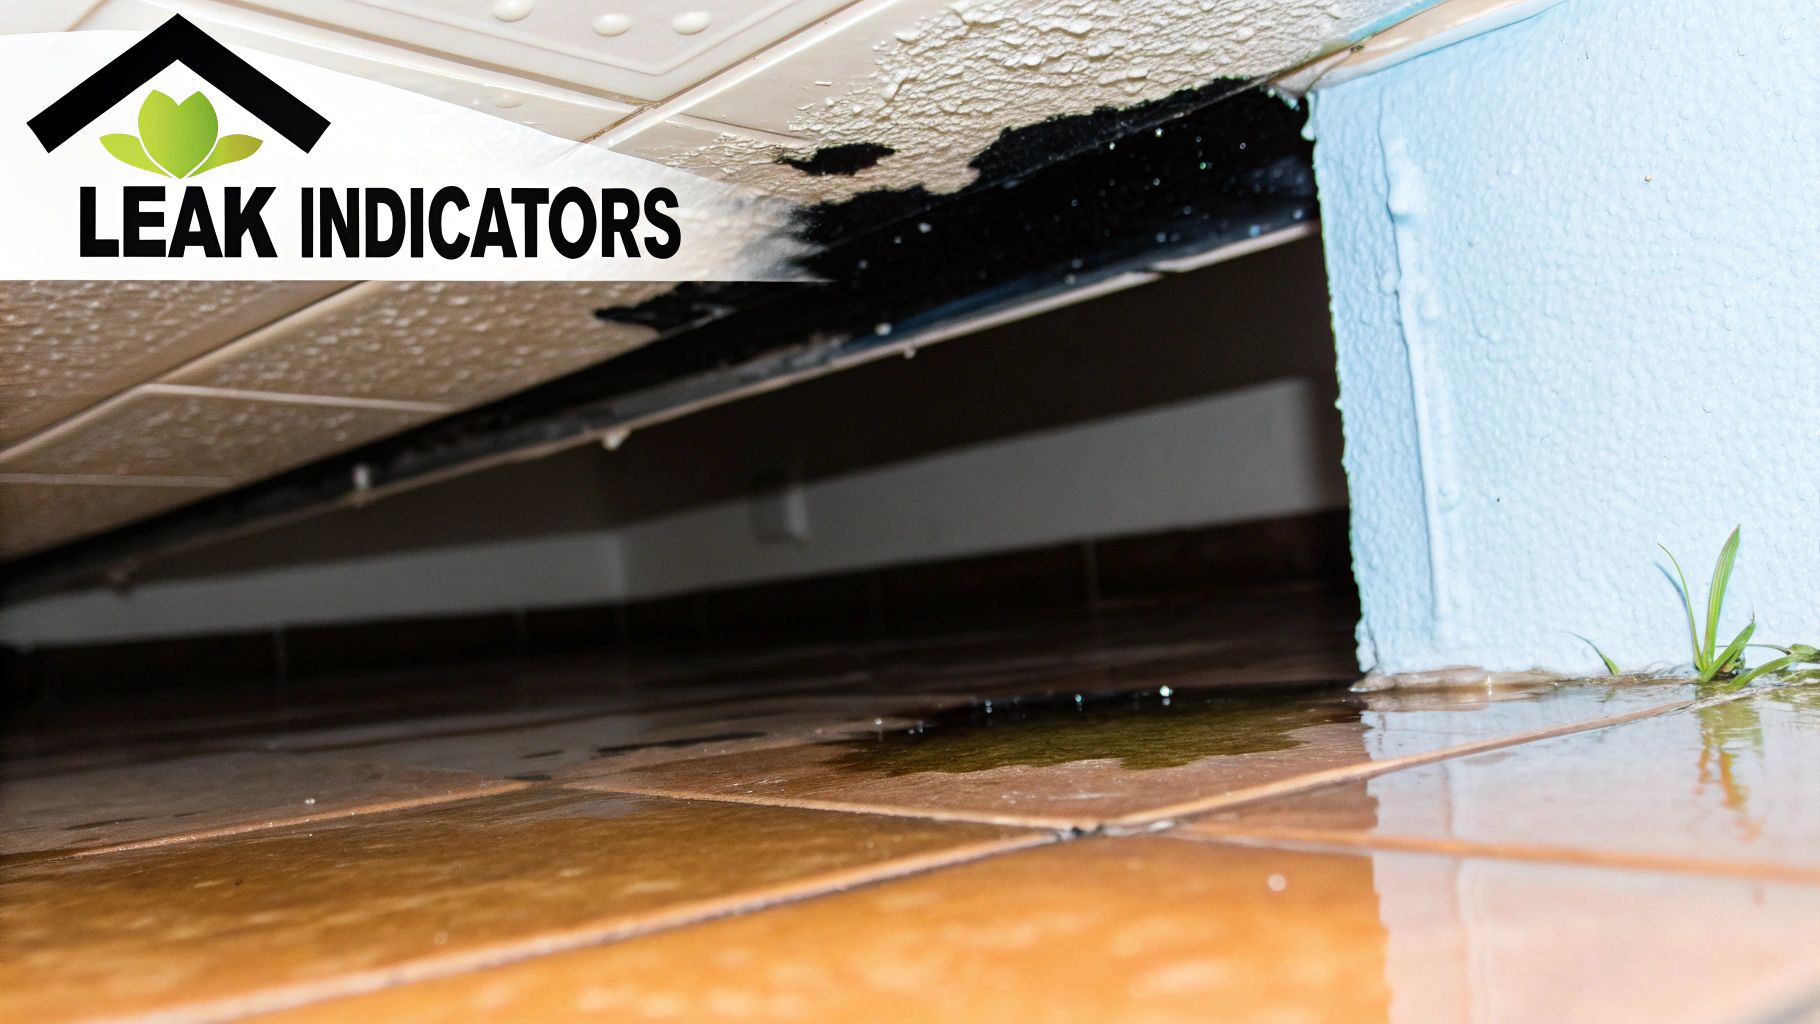
Before you even think about getting a ladder out or heading into the loft, a proper look around your upstairs rooms can reveal more subtle clues. You need to train your eye to spot the less obvious indicators:
- Peeling or Bubbling: Look closely at your wallpaper and paint, especially on ceilings and at the top of walls. If you see it bubbling or peeling, that's a classic sign moisture is trapped just underneath.
- A Persistent Musty Smell: Does an upstairs room or your loft have a damp, musty smell you just can't get rid of? That’s a very strong hint that there's trapped moisture somewhere, and a leak is often the culprit.
- Drips and Dampness: This one's less subtle. If you can actually hear dripping or see damp spots on the walls, particularly after it's been raining heavily, you’ve got a clear red flag that needs immediate attention.
This table provides a quick reference for the kind of interior clues you might encounter.
Quick Guide to Interior Leak Symptoms
| Symptom | Common Location | What It Suggests |
|---|---|---|
| Dark Stains/Discolouration | Ceilings, top of walls | Water is soaking through plasterboard. The colour often indicates the age of the leak. |
| Bubbling or Peeling Paint | Near ceiling corners, around windows | Moisture is trapped behind the paint layer, causing it to lose adhesion. |
| Musty, Damp Odour | Lofts, cupboards, small upstairs rooms | Indicates trapped moisture, potential mould growth, and poor ventilation, often linked to a slow leak. |
| Visible Drips or Puddles | Directly on the floor, in loft spaces | An active and potentially significant leak that requires our immediate professional attention. |
Seeing any of these signs means it's time to investigate further.
Where to Focus Your Search
Your attic or loft space is the most critical place to check. It's the front line, where you'll find the most direct evidence of water getting into your property. For a more detailed breakdown of what to look for, you can learn more about the common signs your roof is leaking in our dedicated guide.
The challenging British weather is a leading cause of roof degradation. In fact, leaks are a primary reason for roof replacements in the UK, accounting for around 33% of all cases. This really highlights how vital it is to address even minor signs of water ingress as soon as you spot them.
At Evershield Roofing, we know that finding a leak is just the first step. If you've spotted any of these signs, our team has the hands-on experience to trace the problem right back to its source and carry out a lasting repair, protecting your home from further damage.
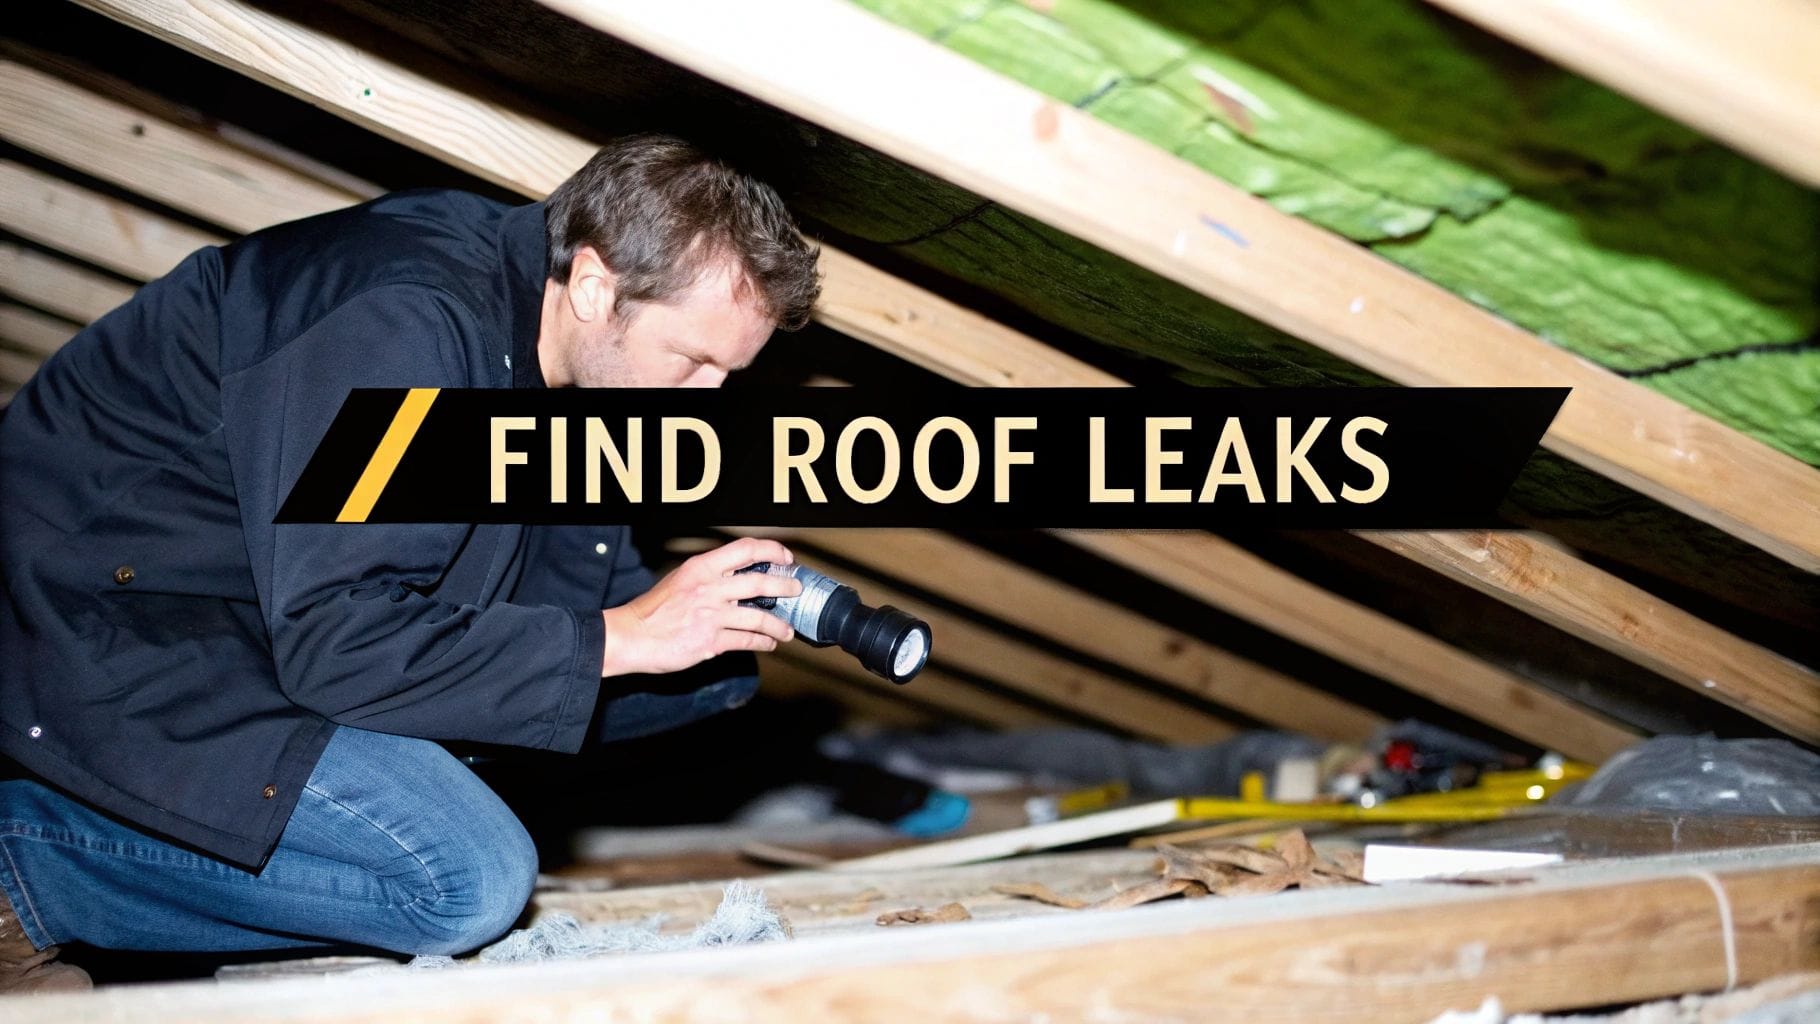
Your Guide to a Safe Internal Loft Inspection

Before you even consider getting a ladder out to go on the roof, your first and best port of call is the loft. A thorough look around inside is by far the safest way to start, but you absolutely must put your safety first. Whatever you do, never step directly onto the plasterboard ceilings between the wooden joists – they simply aren't designed to hold your weight and you will go straight through.
The only safe way to move around is by laying down sturdy crawling boards across at least two or three joists to spread your load properly. And don't rely on your phone's torch; grab a proper, powerful one. You'll need a strong beam of light to catch the subtle clues we're about to look for.
What to Look For in the Loft
Once you're safely positioned, it's time to play detective. The first thing our roofers always do is switch off all the lights and let their eyes adjust. Scan the entire underside of the roof for any obvious pinpricks of daylight. Even a tiny hole is a direct invitation for rain. Bear in mind, though, that most leaks aren't nearly this straightforward.
Now, with your torch on, begin a slow, methodical scan of the roof's underside and all the timber trusses. You're looking for anything that seems out of place with the colour and texture of the wood.
- Darkened Timber: Keep an eye out for any dark, wet-looking patches or even black stains on the rafters. Water has a habit of trickling down the wood, leaving a faint trail that's much harder to spot than a big patch on your bedroom ceiling.
- Damp or Compressed Insulation: Shine your torch horizontally across the top of your insulation. Look for any areas that appear clumpy, squashed down, or visibly damp. Saturated insulation is a dead giveaway of a leak and loses all its thermal properties.
- Rusted Nail Heads: Check the points of the nails coming through the roof deck from the outside. Water often finds its way in and drips from these metal points, leaving behind a tell-tale ring of rust.
One of our team once spent ages tracking down a phantom leak for a client in Leeds; it only ever appeared after a solid day of rain. A really meticulous loft inspection finally revealed a very faint, dark line running the length of a single rafter. By tracing it up, we found a hairline crack in a tile you'd never have seen from the ground. That's precisely why this internal check is so crucial.
Focusing on Vulnerable Areas
Some parts of any roof are naturally weaker spots. When you're in the loft, pay special attention to the areas where something passes through the roof structure. This means carefully checking around:
- Chimney stacks
- Soil or vent pipes
- Rooflights or Velux windows
If you can safely reach them, run your hand over the timbers near these penetrations. Sometimes you can feel dampness that your eyes might have missed. For a deeper dive, our guide on how to inspect your roof for damage offers more pointers for a full check-up.
Remember, the leak's entry point on the roof is almost always higher up than where you find the evidence inside. Water obeys gravity, and it will run down rafters or along membranes before it finally decides to drip.
If you carry out this inspection and find clear signs of water getting in, you've done the most important work. This is the exact information we at Evershield Roofing use to begin our professional assessment, allowing us to pinpoint the source of the problem without any guesswork and get it fixed properly.
How to Inspect Your Roof Exterior Safely
Right, now that you’ve gathered clues from inside, it’s time to head outdoors and have a look at the roof itself. But let’s be clear: safety is everything. You can often do a perfectly good check from solid ground with a pair of binoculars. If you’re comfortable and experienced with ladders, you can get a closer look, but the goal is to diagnose, not to perform a risky repair yourself. For your own safety, we always recommend leaving ladder work to our trained professionals.
The information you found indoors is your treasure map. If the stain is in the corner of an upstairs bedroom, you’ll want to focus your attention on that specific corner of the roofline. This targeted approach is far more efficient than just scanning the whole roof aimlessly.
Common Culprits on UK Roofs
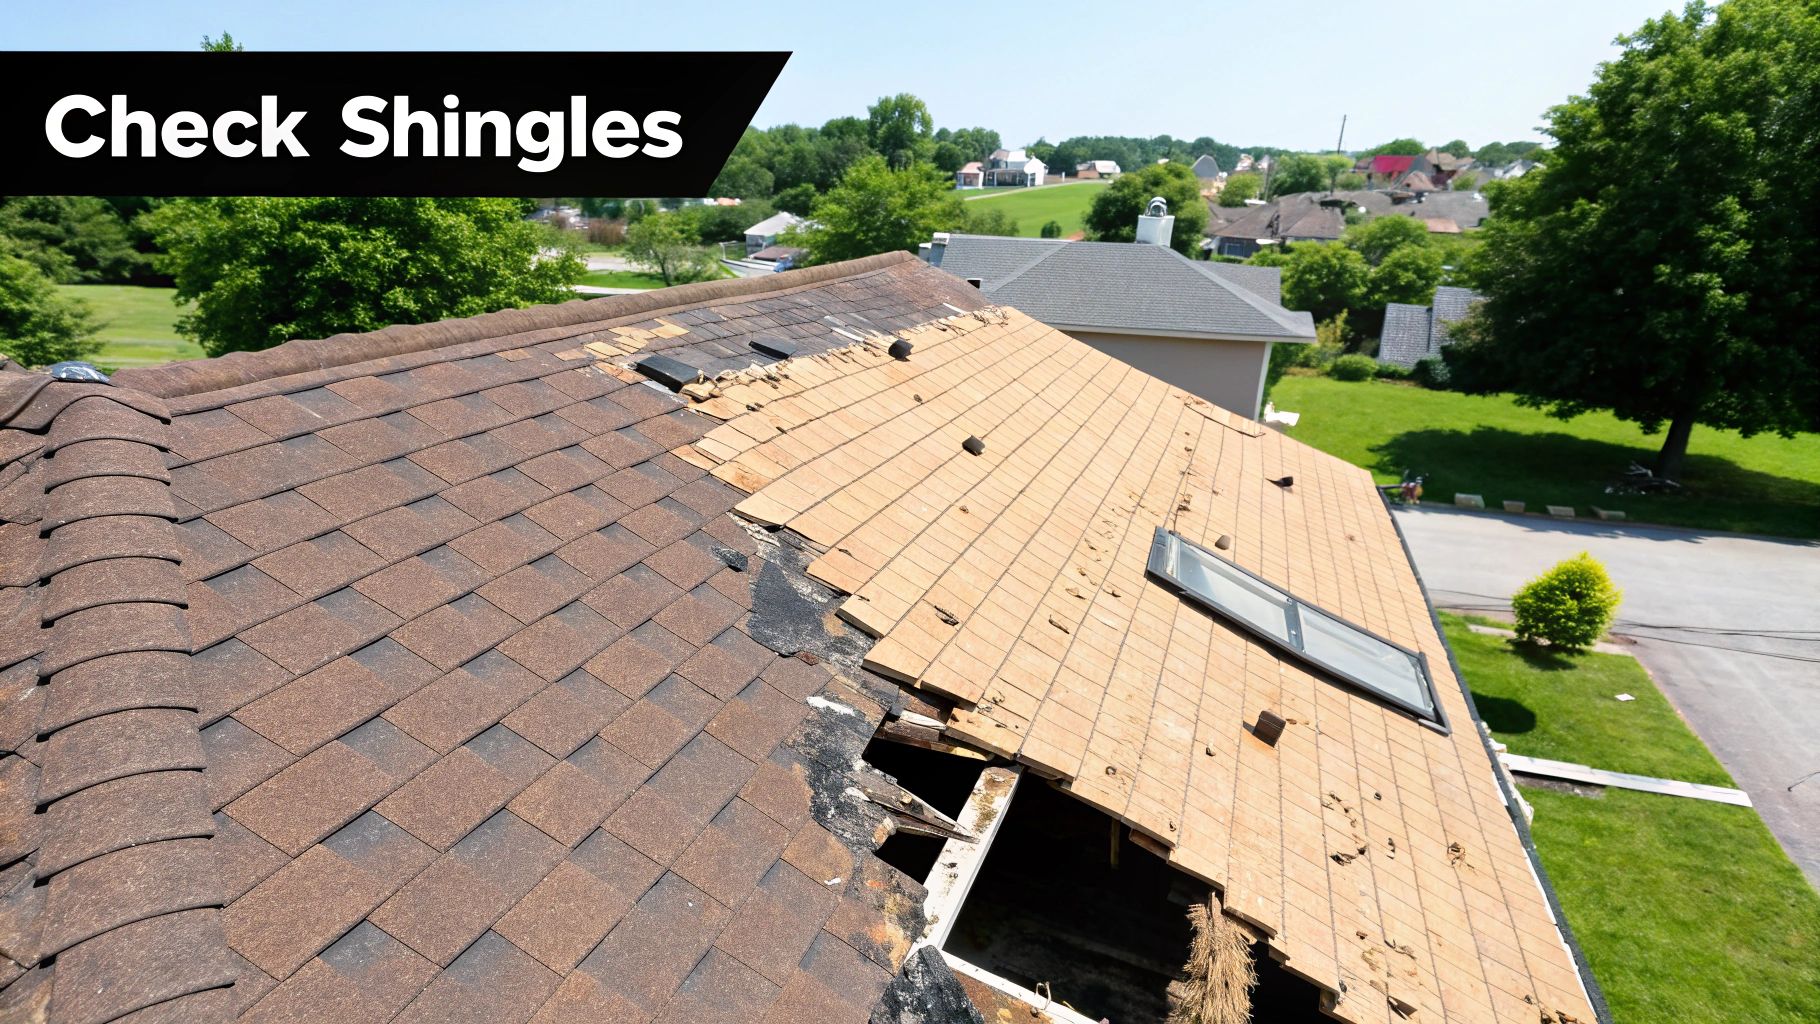
After a good old British storm, it’s no surprise to find a slate or two has shifted. This is probably the most common and obvious reason for a leak. Your first task is to look for any tiles that are clearly cracked, missing, or just sitting awkwardly compared to their neighbours. These gaps are basically an open door for rainwater.
Next, cast your eye along the ridge cap—that’s the line of tiles running along the very peak of the roof. The mortar holding these tiles in place takes a real battering from the weather and can break down over the years. Look for any visible cracks or crumbling sections, as this is a classic weak spot where water will find a way in.
We once worked on a persistent leak in Sheffield that had the homeowner completely stumped. The culprit? A tiny lift in the lead flashing around a Velux window. It was almost invisible from the ground, but during a downpour, it was funnelling a surprising amount of water into the loft. It just goes to show how even the smallest defect can cause big problems.
Flashing and Penetrations
Lead flashing is the sheet metal that seals the joints where your roof meets a vertical surface, like a chimney stack, dormer window, or soil pipe. It’s an absolutely critical barrier.
During your exterior check, pay close attention to all the flashing. You're looking for any signs of:
- Lifting or peeling: Look carefully where the flashing meets the brickwork of a chimney. If it's pulled away, it creates a direct channel for water to run down.
- Cracks or holes: Over time, lead can split or get punctured by falling debris. Even a small hole is enough to cause trouble.
- Degraded sealant: The sealant applied to the edges of the flashing can go brittle and crack, breaking that all-important watertight seal.
For a really thorough and safe assessment without ever setting foot on a ladder, you might consider specialised drone roofing inspection software. We use this technology at Evershield Roofing to get a high-resolution view of every single tile and joint, making it far easier to spot those subtle, hard-to-see issues.
Once you’ve identified these potential problems, you have clear, specific information. When you call us, you can tell our team exactly what you’ve seen. This means we can arrive with a much better idea of the issue, ready to give an accurate diagnosis and get on with a proper, lasting repair.
Using a Water Test for Elusive Leaks
Some leaks are just plain sneaky. They’ll only show up during a sideways, wind-driven downpour, making them incredibly frustrating to find. When a good look around your loft and a thorough check of the roof outside don’t turn up an obvious culprit, it's time to run a controlled water test. This is exactly what we professionals at Evershield Roofing do to isolate tricky leaks.
What a water test does is take the guesswork out of the equation. Say you’ve got a hunch that the flashing around a soil pipe is the problem. Instead of tearing up tiles to check, you can isolate and soak just that one area. If a drip suddenly appears inside, bingo! You've found your leak without blaming a perfectly good section of your roof.
The Two-Person Approach
This really isn't a one-person job. The best way to do a water test is with a partner. You'll need one person inside the loft acting as a spotter, and someone else outside with a garden hose. Clear communication is everything, so make sure you both have your mobile phones handy and charged.
The method itself is straightforward, but patience is key. You have to work slowly and methodically.
- Isolate and Soak: The person outside needs to gently run water over one small section of the roof at a time. Start from the lowest point of the suspected area and work your way up. It’s crucial not to use a high-pressure jet from a pressure washer; you're trying to simulate rain, not blast your tiles off.
- Wait and Watch: After letting the water run over a section for a few minutes, the spotter in the loft needs to have a really close look at the underside of the roof deck in that same area. Look for the faintest glisten of water or a new drip forming.
- Communicate Clearly: The second the spotter sees anything, they need to shout—or call—the person outside immediately. This pinpoints the exact entry point on the roof.
This systematic approach is, without a doubt, the most reliable way to find those tricky, intermittent leaks. By testing each potential weak spot one by one—whether it's flashing, a valley, or a section of tiles—you force the leak to show itself on your terms.
Visualising the Leak Detection Process
A successful hunt for a leak always follows a logical path. You start inside to get a general location, which then guides your search outside. The diagram below breaks down this flow.
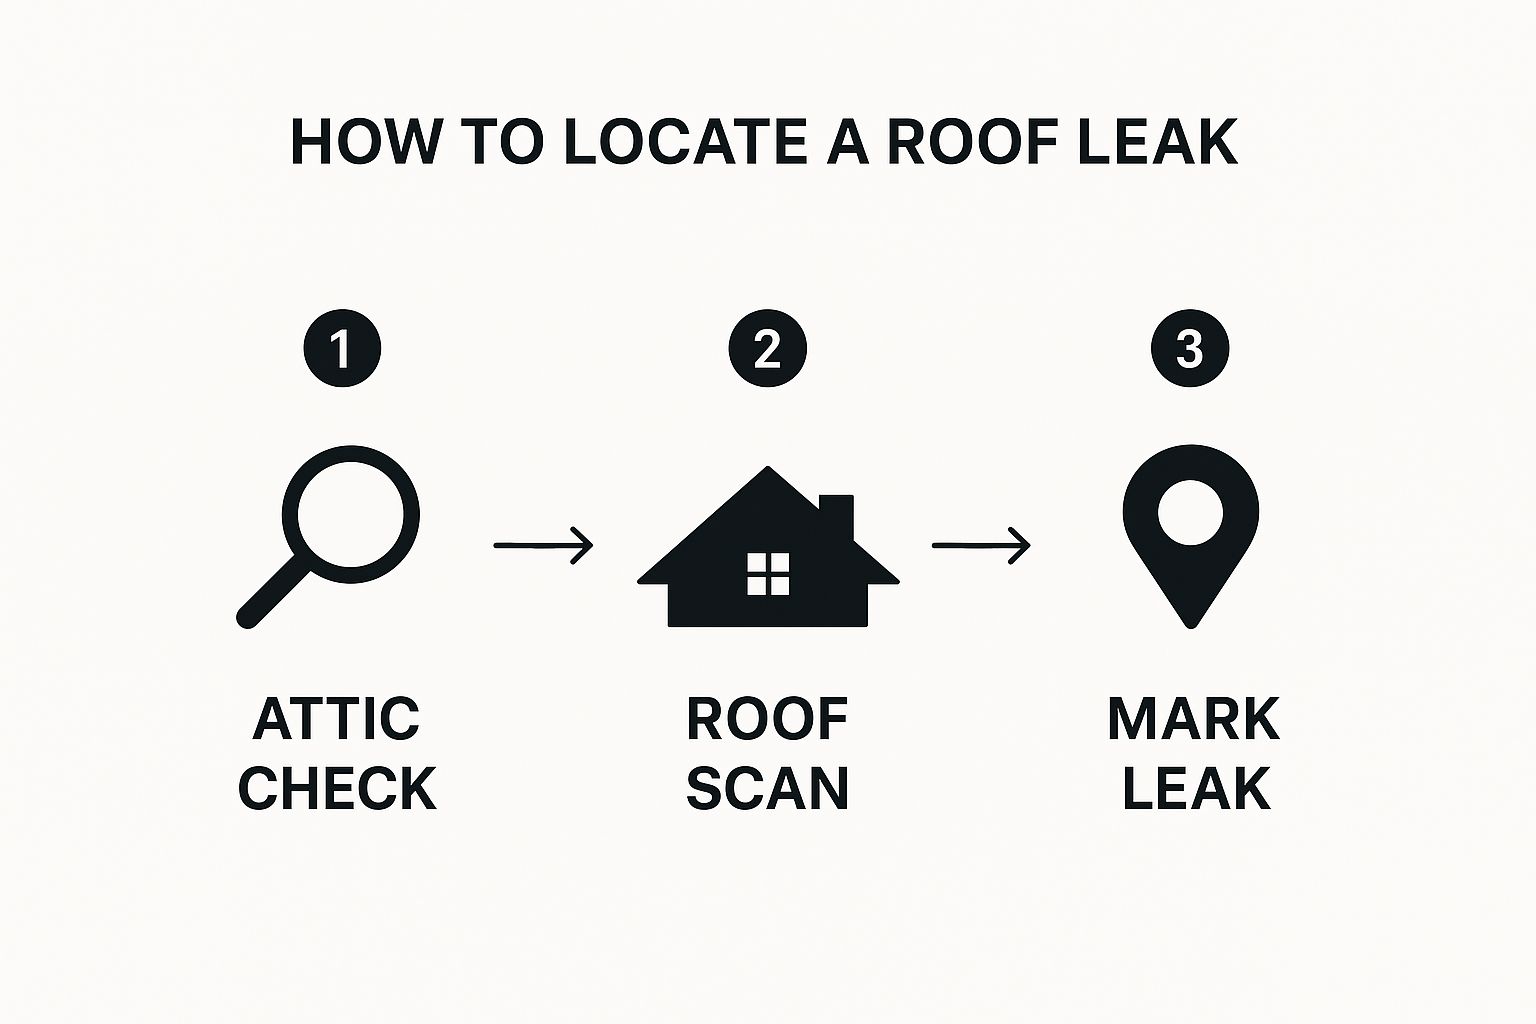
As you can see, a proper check of the loft is the best place to begin. It directs your eyes to the right area on the outside, letting you mark the exact spot that needs fixing.
It's interesting to note that the UK roofing market is set to grow by about 3.1% each year between 2025 and 2034. A lot of that growth is down to new materials and technologies designed to prevent the very leaks we’re talking about, especially with our notoriously damp climate. You can read more about these developing roofing trends on OpenPR.
Of course, if a water test seems a bit much, or if you find a leak that’s clearly beyond a simple DIY fix, it's time to call in the experts. At Evershield Roofing, we can use the clues you've gathered to carry out a professional, long-lasting repair.
Why and When to Call in the Roofing Professionals
So, you’ve done a bit of detective work and suspect you have a roof leak. That’s a great first step, but what comes next is what really matters. While it might be tempting to nudge a slipped slate back into place yourself, most roofing issues are far more complicated than they appear on the surface. That's when you need to call in a team like Evershield Roofing, who lives and breathes this stuff.
Working on a roof is no small matter. It's dangerous. Attempting a fix without the proper safety equipment and know-how is a recipe for disaster. On top of that, UK homes have their own unique quirks, from the historic slates on a period property to the complex leadwork around a modern skylight. A clumsy repair can easily turn a small leak into a major headache.
Our Professional, No-Nonsense Approach
When you get in touch with us, you’re not just calling for a patch-up job. You’re getting a thorough, professional assessment aimed at finding a permanent solution. We know that inviting tradespeople into your home is a big deal, so we make sure our entire process is transparent and easy to understand right from the start.
We begin with a detailed, non-invasive inspection. We’ll take the clues you’ve already found and combine them with our own expertise to trace the leak to its exact source. After years in the business, we’ve seen everything the British weather can throw at a roof—from driving rain that gets behind gable ends to crumbling mortar on old chimney stacks.
The UK climate is notoriously tough on our homes. The constant cycle of rain and damp puts enormous strain on roofing materials, which is why leaks are such a common problem. It’s no surprise that industry data shows a direct spike in leak reports and roof damage after spells of heavy rainfall.
So, When Is It Time to Make the Call?
Your initial check is incredibly helpful, but some situations are clear signals that it’s time to bring in an expert. You should give us a ring straight away if you spot any of these red flags:
- Significant water coming in: If you can see active drips or the water stain on your ceiling is growing quickly, it's an emergency.
- Signs of structural sagging: A dip in the roofline or rotting timbers in your loft are serious warning signs that need an expert eye, fast.
- Hard-to-reach problem areas: Leaks around chimneys, high gables, or complicated roof valleys are not safe for a DIY attempt.
- You just can't find the source: If you've looked everywhere and are still stumped, our specialised equipment and experience can find what you can't.
If you live in a flat or a managed community, it's also worth figuring out who is responsible for the roof. In many cases, it's a shared responsibility, and professional advice is essential. These HOA common area maintenance tips offer some useful insights into how these things are often handled.
Once we’ve pinpointed the problem, we’ll give you a clear, itemised quote. No hidden costs, no confusing jargon. We’ll walk you through the issue and our recommended solution, ensuring you know exactly what needs doing. This will also give you a better understanding of the potential investment, which you can learn more about in our guide to the cost to fix a roof leak. Our ultimate goal is to give you peace of mind, knowing your home is in safe hands and the repair we perform is built to last.
Common Questions About UK Roof Leaks
Even with a detailed guide, finding a leak can leave you with a few nagging questions. That’s perfectly normal. Getting straight answers can help you decide what to do next with confidence. Let's tackle some of the queries we hear most often from homeowners across the UK.
How Much Does It Cost to Find and Repair a Roof Leak in the UK?
This is the big question, and honestly, the answer is "it depends". The cost to sort out a leak can vary wildly based on what’s causing it, how tricky it is to get to, and the materials your roof is made of.
For a simple job, like repositioning a couple of slipped tiles, you might only be looking at a few hundred pounds. But if the problem is more complex, the job gets bigger. Renewing the lead flashing around a chimney or repairing a leak in a roof valley, for instance, requires a lot more skill and time, so the cost will reflect that. That's exactly why we at Evershield Roofing provide a detailed, no-obligation quote after a proper look, so you know exactly what you're paying for before any work begins. No nasty surprises.
Can I Claim for a Roof Leak on My Home Insurance?
A very common question, and the answer hinges entirely on your specific insurance policy. Generally, most UK insurers will cover damage from a sudden, unexpected event – a proper storm that rips tiles off is a classic example.
What they almost certainly won't cover is damage from wear and tear. If a leak has developed slowly over years because of poor maintenance, you'll likely be on your own. It's vital you dig out your policy documents and read the fine print. If the damage looks like it's covered, we can provide a detailed report on the cause to help you build a strong case for your claim.
A professional repair should always provide a long-term solution. Our focus is on addressing the root cause of the leak, not just patching up the symptom. We use high-quality materials suited to the UK climate and guarantee our work, giving you peace of mind that the fix is durable.
Why Does My Leak Only Appear During Heavy, Driving Rain?
Ah, the classic wind-driven leak. We see this all the time here in the UK. When you get strong winds hammering against your roof, they can force rainwater into tiny gaps and cracks that wouldn't cause any trouble during a normal shower.
The culprit could be a hairline fracture in a tile, a small gap in the mortar on a ridge tile, or failing sealant around a skylight. These are a real headache to pinpoint because they're often invisible from the ground and only show themselves under very specific weather conditions. Our team has spent years tracking down these kinds of intermittent leaks and knows exactly what to look for to put a permanent stop to them.
If any of this sounds familiar, or if you’ve hit a brick wall with your own investigation, don't let it get worse. Evershield Roofing has the experience and the right tools to find and fix any leak, no matter how big or small. Visit us at https://www.evershieldroofing.co.uk to book your free, no-obligation survey and get your home properly protected.