How to Install GRP Fibreglass Roofing: A Step-by-Step Guide
GRP fibreglass roofing installation: Learn how to install GRP fibreglass roofing with our step-by-step guide. Covers preparation, materials, techniques.

Table of Contents
- What You’ll Need Before Installing GRP Fibreglass Roofing
- Preparing Your Roof Deck for GRP Installation
- Why Flat Roof Drainage Is Important
- Step-by-Step GRP Fibreglass Installation Process
- Building Regulations Part L: Flat Roof Compliance
- GRP Roofing Cost Per Square Metre in the UK
- Common Mistakes to Avoid During Installation
- Frequently Asked Questions
Last Updated: September 18, 2026
GRP fibreglass roofing is one of the most durable and cost-effective solutions for flat roofs across the UK. Whether you’re tackling a repair or planning a complete roof replacement, understanding the installation process helps you work with contractors more effectively and make informed decisions about your property. At Evershield Roofing, we understand the questions that matter most when it comes to flat roof projects. Below, we’ll walk you through exactly what you need to know about how to install GRP fibreglass roofing, from preparation through completion.
What You’ll Need Before Installing GRP Fibreglass Roofing
Before any work begins, gather the right materials and tools. This step determines whether your installation holds up for decades or fails within years.
You’ll need polyester resin, fibreglass matting (typically 300-450gsm weight), a roller for pressing layers down, a brush or spray gun for resin application, and safety equipment including gloves, goggles, and a respirator. The roof deck itself must be solid, either concrete, timber boarding, or existing asphalt. A primer suitable for your deck type helps the resin bond properly.
Most installations also require a topcoat or sealant to protect the fibreglass from UV damage. This extends the life of your GRP fibreglass roofing installation significantly.
Pro Tip
Check your existing roof surface before buying materials. Loose asphalt, rotting timber, or crumbling concrete means repair work comes first. Skipping this step leads to premature failure and wasted money.
Check your existing roof surface before buying materials. Loose asphalt, rotting timber, or crumbling concrete means repair work comes first. Skipping this step leads to premature failure and wasted money.
| Material | Purpose | Notes |
|---|---|---|
| Polyester resin | Binds fibreglass layers | Temperature-sensitive; check cure time |
| Fibreglass matting | Structural reinforcement | Heavier weight = stronger finish |
| Primer | Surface adhesion | Must match deck type |
| Topcoat/sealant | UV protection | Extends roof lifespan by years |
| Roller | Layer compression | Removes air pockets |
Preparing Your Roof Deck for GRP Installation
A weak foundation ruins even the best materials. Your roof deck preparation determines how well the GRP fibreglass roofing installation performs over time.
Start by clearing the roof completely. Remove debris, moss, and loose material. If you have standing water, that’s a drainage problem you must fix before installing new roofing, we’ll cover this next.
Inspect the deck for damage. Soft spots in timber, cracks in concrete, or blistering in existing asphalt all need attention. Sand down rough areas and fill cracks with appropriate filler. The surface should be clean, dry, and smooth.
Apply primer according to the product instructions. This step is often skipped, and that’s where problems start. Primer ensures the resin bonds to the deck rather than sitting on top of it.
Watch Out
Wet surfaces will ruin your installation. Rain or morning dew on the deck prevents resin from curing properly. Always schedule work during dry weather and allow 24 hours of dry conditions before starting.
Wet surfaces will ruin your installation. Rain or morning dew on the deck prevents resin from curing properly. Always schedule work during dry weather and allow 24 hours of dry conditions before starting.
Why Flat Roof Drainage Is Important
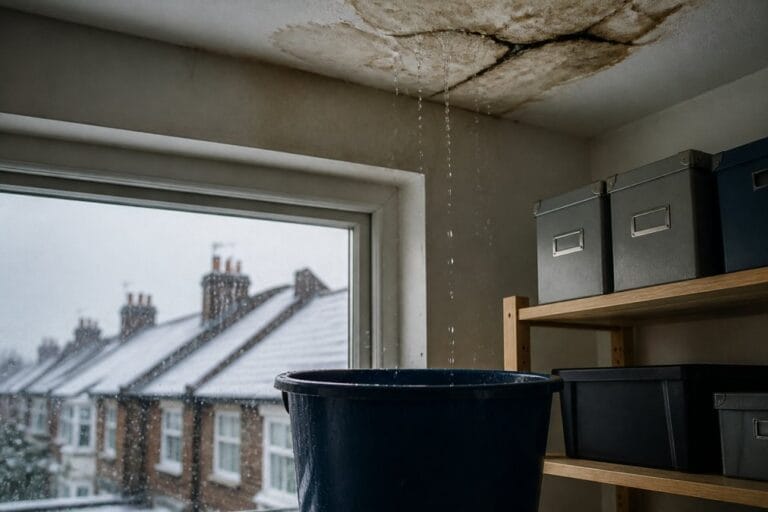
Standing water is the enemy of any flat roof. This is why flat roof drainage matters so much, it’s the difference between a roof that lasts 20 years and one that fails in five.
When water pools on a flat roof, it adds weight and creates pressure on the structure. The water penetrates small cracks and seeps into the insulation below. Freeze-thaw cycles in winter make this worse. Over time, the roof fails from the inside out.
Good drainage means water moves off the roof quickly. Traditional flat roofs use a slight slope (typically 1:80 gradient) to direct water toward gutters or drains. Without this slope, you need a high-performance system that handles pooling.
GRP fibreglass roofing installation includes checking your drainage setup. If your roof doesn’t slope naturally, install additional drains or adjust the slope using tapered insulation boards. This investment prevents thousands in water damage later.
Key Takeaway
Flat roof drainage isn’t optional, it’s the foundation of roof longevity. Fix drainage problems before installing new roofing, not after.
Flat roof drainage isn’t optional, it’s the foundation of roof longevity. Fix drainage problems before installing new roofing, not after.
Step-by-Step GRP Fibreglass Installation Process
The actual installation follows a proven sequence. Each layer builds on the previous one, creating a waterproof membrane that bonds to your deck.
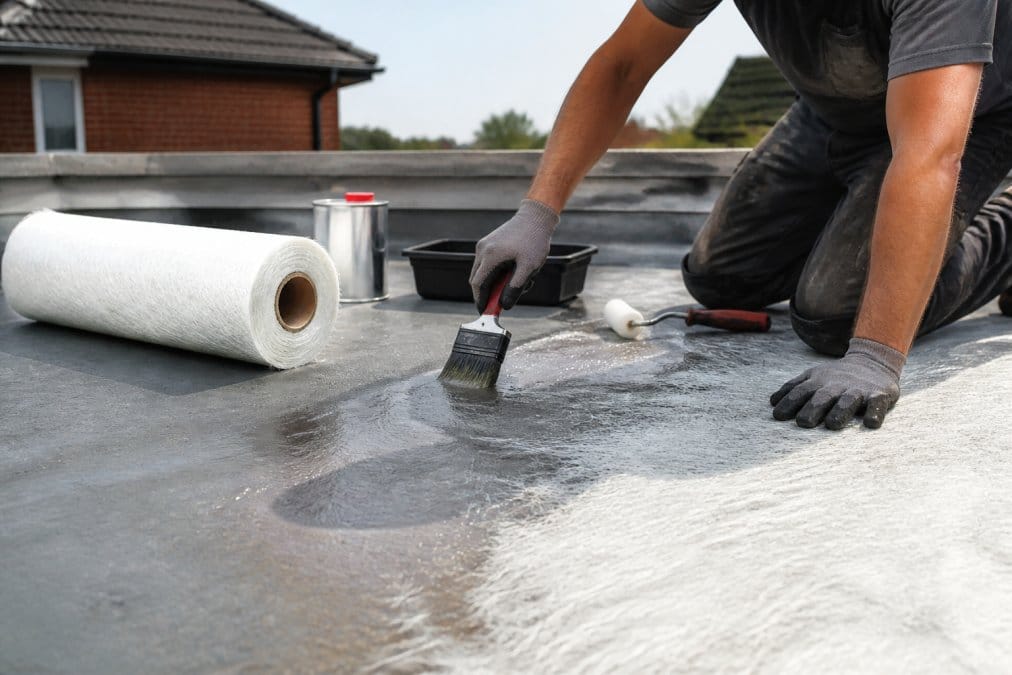
Laying the First Resin Layer
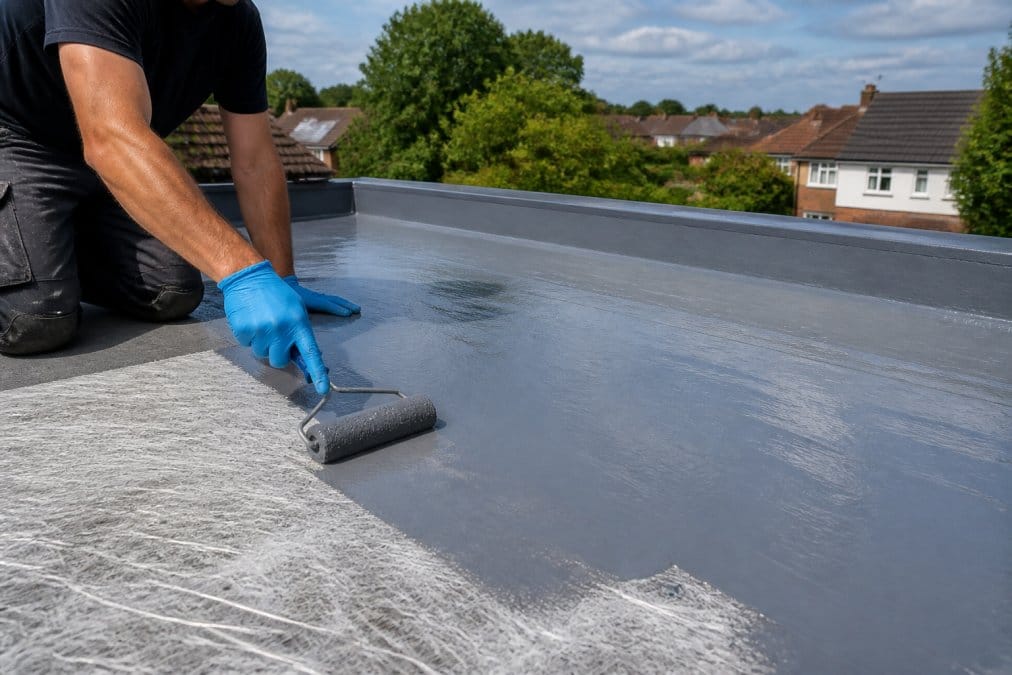
Mix your polyester resin according to manufacturer instructions. Temperature affects cure time, warmer conditions speed it up. Pour the resin onto the roof deck and spread it evenly with a brush or spray gun. Aim for a consistent thickness of about 1-2mm.
Work in sections if your roof is large. Don’t try to cover the entire roof at once, the resin will start curing before you finish. A typical section is 3-4 square metres.
Let the resin reach a tacky (not fully cured) state before applying fibreglass. This usually takes 30-60 minutes depending on temperature. You want the surface to feel sticky but not runny.
Applying Fibreglass Matting
Unroll the fibreglass matting over the tacky resin. Press it down firmly with a roller, working from the centre outward to remove air pockets. Air bubbles create weak spots that fail under stress.
The matting should lie flat with no wrinkles or folds. If you see bubbles, roll over them again. Ensure the matting overlaps at seams by at least 100mm, this overlap prevents water from seeping through joints.
Once the matting is pressed down, apply a second coat of resin over the top. This saturates the fibreglass and locks it in place.
Adding Subsequent Layers
Most GRP fibreglass roofing installations use 2-3 layers total. After your first layer cures (typically 24 hours), repeat the process: resin, matting, resin.
Each additional layer adds strength and waterproofing. A three-layer system is often used for residential roofs. Commercial properties may use additional layers for extra durability.
Allow full cure time between layers. Rushing this step compromises the bond between layers and weakens the entire roof.
Get Your Free Roofing Quote Today! →
Pro Tip
Temperature matters. In cold weather, resin cures slowly. In hot weather, it cures fast, sometimes too fast to work with. Aim for 15-20°C conditions if possible. Check the resin data sheet for optimal cure windows.
Temperature matters. In cold weather, resin cures slowly. In hot weather, it cures fast, sometimes too fast to work with. Aim for 15-20°C conditions if possible. Check the resin data sheet for optimal cure windows.
Building Regulations Part L: Flat Roof Compliance
Any roofing work in the UK must comply with Building Regulations, specifically Part L (Conservation of Fuel and Power). This applies to new installations and major renovations.
Part L requires that flat roofs meet minimum thermal performance standards. This means your roof must include adequate insulation beneath the GRP membrane. The U-value (heat loss rate) must not exceed specified limits depending on your property type.
For residential properties, typical requirements mean 100-150mm of insulation beneath the roofing system. Check with your local building control office before starting work, they’ll confirm exact requirements for your property.
GRP fibreglass roofing installation itself doesn’t provide insulation. The insulation sits below the membrane. This is why preparation matters, you’re not just installing roofing, you’re building a complete thermal system.
Failure to comply with Part L can result in enforcement action or difficulty selling your property later. It’s not worth the risk. Get confirmation from building control before work starts.
GRP Roofing Cost Per Square Metre in the UK
Material costs for GRP fibreglass roofing vary based on system specification and supplier. Labour costs depend on roof complexity, access, and local market rates.
Material costs for GRP fibreglass roofing vary based on system specification and supplier. Labour costs depend on roof complexity, access, and local market rates.
The most important factor isn’t the cheapest price, it’s getting a system that actually lasts. A poorly installed budget roof costs far more in repairs than a properly installed quality system.
At Evershield Roofing, we provide free surveys and quotes so you know exactly what you’re paying for. We break down material costs, labour, and any additional work your roof needs. No surprises, no hidden charges.
Best For
Homeowners in Buckinghamshire seeking transparent pricing and professional installation. We work with you to understand costs and find solutions that fit your budget.
Homeowners in Buckinghamshire seeking transparent pricing and professional installation. We work with you to understand costs and find solutions that fit your budget.
Common Mistakes to Avoid During Installation
Most GRP fibreglass roofing installation failures come from skipping steps, not from material defects. Here’s what to watch out for.
Skipping surface preparation. A dirty or damp deck undermines everything that follows. Take time to clean, repair, and prime properly.
Rushing between layers. Applying the next layer before the previous one fully cures creates weak bonds. Each layer needs 24 hours minimum in normal conditions.
Ignoring drainage problems. Installing new roofing over a roof that pools water guarantees failure. Fix drainage first.
Using the wrong resin type. Polyester and epoxy resin cure differently and have different properties. Match the resin to your system specification.
Inadequate overlap at seams. Fibreglass matting must overlap by at least 100mm. Skimping here creates leak paths.
Skipping the topcoat. UV exposure degrades unprotected fibreglass. A quality topcoat extends roof life by years.
Not checking Building Regulations. Part L compliance isn’t optional. Work with building control from the start.
Installing GRP fibreglass roofing requires careful planning, quality materials, and attention to detail at every step. The process isn’t complicated, but it demands respect for each stage.
Frequently Asked Questions
How long does a GRP fibreglass roof last?
A properly installed GRP fibreglass roof typically lasts 20-40 years, depending on maintenance and climate exposure. Regular inspections and prompt repairs of any damage extend its lifespan. GRP roofing is highly durable and resistant to UV damage, making it a long-term investment for both residential and commercial properties.
Do I need planning permission for a flat roof in Buckinghamshire?
In most cases, flat roof replacements do not require planning permission if you’re replacing an existing roof with a similar material and design. However, extensions or new structures with flat roofs may need approval. Building Regulations approval is always required to ensure compliance with current standards. Contact your local planning authority or consult a qualified surveyor to confirm your specific circumstances.
Can I install a GRP roof myself, or should I hire a professional?
While DIY installation is technically possible, GRP roofing requires precision, proper ventilation during application, and specialist knowledge of resin handling and safety. Professional installation ensures compliance with building regulations, correct drainage design, and warranty coverage. Hiring experienced roofers like Evershield Roofing minimises the risk of costly mistakes and guarantees quality workmanship.
Is GRP roofing suitable for the Aylesbury climate?
Yes, GRP fibreglass roofing performs well in the UK climate, including Aylesbury’s temperate conditions. It withstands rain, frost, and UV exposure effectively. GRP’s flexibility allows it to expand and contract with temperature changes without cracking. Its excellent water resistance makes it ideal for areas with regular rainfall, and it requires minimal maintenance compared to other flat roofing materials.