How to Install Insulation for a Flat Roof Extension
Flat roof insulation: Learn how to install insulation for a flat roof extension, from warm roof build-ups to Part L rules and stopping condensation. Get.

Table of Contents
- What You’ll Need Before You Start
- Warm Roof vs Cold Roof Construction: Which Build-Up Suits Your Extension?
- Meeting Flat Roof Building Regulations Part L for Extensions
- Best Materials for Flat Roof Insulation
- Step-by-Step: How to Install Insulation for a Flat Roof Extension
- Preventing Condensation in Flat Roof Extensions
- Common Mistakes to Avoid When Insulating a Flat Roof
- Frequently Asked Questions
Last Updated: September 21, 2026
What You’ll Need Before You Start
Getting the materials right before you climb onto the roof saves a second trip to the merchant. For a typical flat roof extension, you’ll need rigid PIR insulation boards, a vapour control layer, adhesive or mechanical fixings, and the tools to cut and fit them neatly.
Here’s your practical kit list:
- Rigid PIR insulation boards, sized to your joist spacing
- Vapour control layer (VCL) membrane and sealing tape
- Construction adhesive rated for insulation boards
- Mechanical fixings: screws and washers if you’re fixing through the deck
- Sharp insulation saw or knife
- Tape measure, straight edge, and marker
- Gloves, eye protection, and a dust mask
- Sealant for edges and penetrations
At Evershield Roofing, we’ve fitted flat roofs across Buckinghamshire for over 25 years.
Check your extension’s approved plans first. They’ll state the U-value you need to hit.
Warm Roof vs Cold Roof Construction: Which Build-Up Suits Your Extension?
Warm roof construction puts insulation above the deck, while cold roof construction places it between or below the joists. For most flat roof extensions, warm roof is the better choice because it keeps the deck warm and stops condensation forming underneath.
That single difference matters more than almost anything else on this job.
A warm roof means the insulation sits on top of the structural deck, with the waterproof covering above it. The deck stays at room temperature, so moisture in the air below can’t condense on cold timber.
A cold roof places insulation between the joists, leaving a ventilated void. This works on some builds, but flat roofs struggle to ventilate properly. Poor airflow traps damp, and rot follows.
For extensions, warm roof wins in most cases. It’s simpler to detail, easier to make airtight, and less likely to fail. The trade-off is height: you’re adding thickness on top of the deck, so check your door thresholds and any abutments.
If headroom or threshold height is tight, cold roof may be your only option. Just make sure the void is genuinely ventilated.
Meeting Flat Roof Building Regulations Part L for Extensions
Flat roof building regulations Part L set the minimum thermal performance your extension must meet. In England, a flat roof typically needs a U-value of 0.18 W/m²K or better when part of a new extension.
That figure comes from the Approved Documents, so always confirm the current requirement with your local building control team before you buy boards. Rules get updated, and your project may have specific conditions.
A few things building control will want to see:
- Board thickness and type matched to the target U-value
- Correct fixing pattern for wind uplift
- A continuous vapour control layer
- Proper detailing at edges, upstands, and penetrations
You can find the technical detail in the UK Government Approved Document L guidance. It’s dry reading, but it’s the document your inspector works from.
Watch Out
Fitting insulation that’s too thin is the single most common reason flat roof extension work fails a building control inspection. You’ll have to strip the covering and start again, which doubles your material costs.
Fitting insulation that’s too thin is the single most common reason flat roof extension work fails a building control inspection. You’ll have to strip the covering and start again, which doubles your material costs.
Best Materials for Flat Roof Insulation
Rigid PIR boards are the best material for most flat roof insulation jobs. They deliver high thermal performance per millimetre, which keeps your build-up as thin as possible.
Here’s how the main options compare:
| Material | Thermal Performance | Best For | Watch Out For |
|---|---|---|---|
| PIR board | Highest per mm | Warm roof extensions | Costs more per board |
| EPS board | Good | Budget cold roofs | Thicker build-up needed |
| Mineral wool | Lower per mm | Between joists | Needs more depth |
| Phenolic board | Highest available | Tight headroom | Pricier, more brittle |
PIR is the workhorse. It’s light, cuts cleanly, and holds its performance well when fitted correctly.
EPS costs less but you’ll need a thicker board to hit the same U-value. That extra thickness can push your finished roof height up, which matters at doorways.
Phenolic boards beat PIR on thickness, but they’re more expensive and chip easily on site. We only reach for them when headroom is genuinely tight.
Whatever you pick, buy boards with foil facings. They act as part of the vapour control strategy and give adhesive something to bond to.
Step-by-Step: How to Install Insulation for a Flat Roof Extension
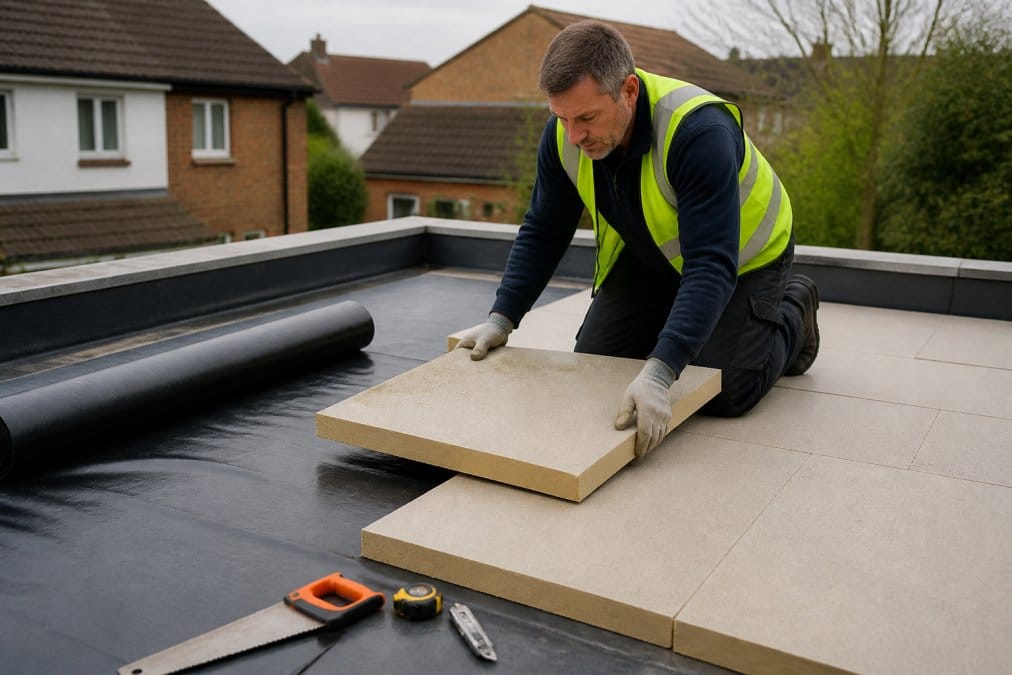
Installing insulation for a flat roof extension follows three stages: prepare the deck and set the fall, fit the vapour control layer and boards, then fix the covering and finish the edges. Each stage depends on the one before it being done properly.
Step 1: Check the Deck and Set Out the Fall
Start by inspecting the deck for soft spots, rot, or loose boards. Any movement here will telegraph straight through your new insulation.
Get Your Free Roofing Quote Today! →
Then set out the fall. Flat roofs aren’t truly flat; they need a slight slope toward the drainage outlet so water runs off. A common approach is a tapered insulation scheme or firrings that create the gradient.
Get this wrong and you’ll have standing water within a season.
Step 2: Fit the Vapour Control Layer and Insulation Boards
Lay the vapour control layer directly onto the deck, overlapping joints by at least 100mm and sealing them with tape. This layer stops warm moist air from inside the building reaching the cold side of the insulation.
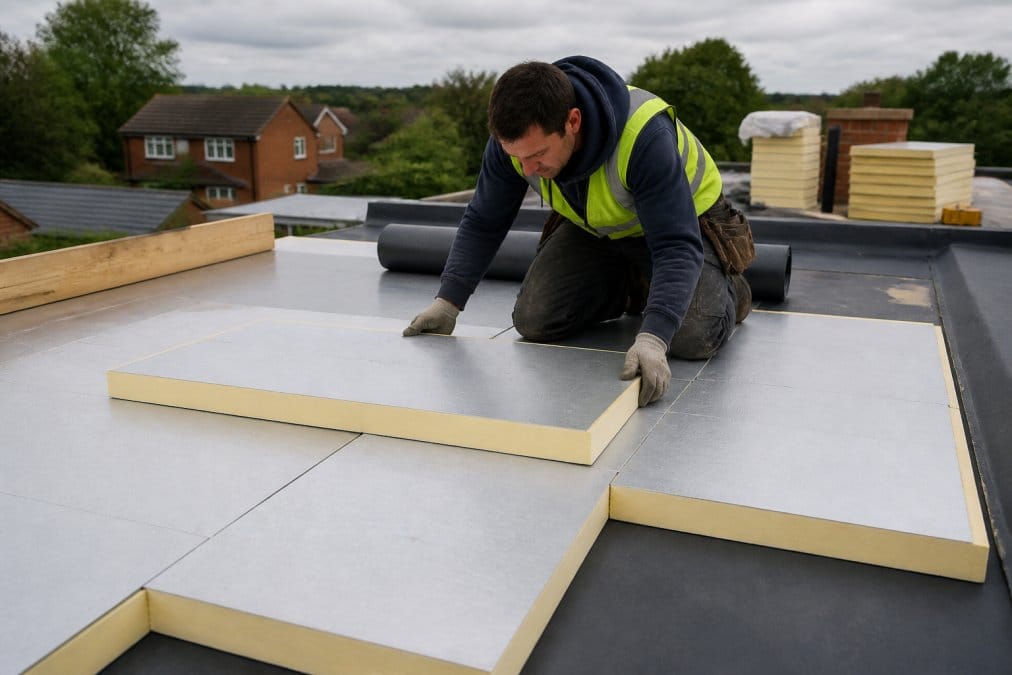
Next, lay your PIR boards on top, staggering the joints like brickwork. Cut boards to fit snugly around upstands and penetrations. Gaps let heat escape and give moisture a path.
Bond or mechanically fix the boards following the manufacturer’s pattern.
Pro Tip
Fit the vapour control layer on a dry day and tape every joint as you go. If rain gets in before the covering is on, trapped moisture has nowhere to escape once the roof is sealed.
Fit the vapour control layer on a dry day and tape every joint as you go. If rain gets in before the covering is on, trapped moisture has nowhere to escape once the roof is sealed.
Step 3: Fix the Covering and Finish the Edges
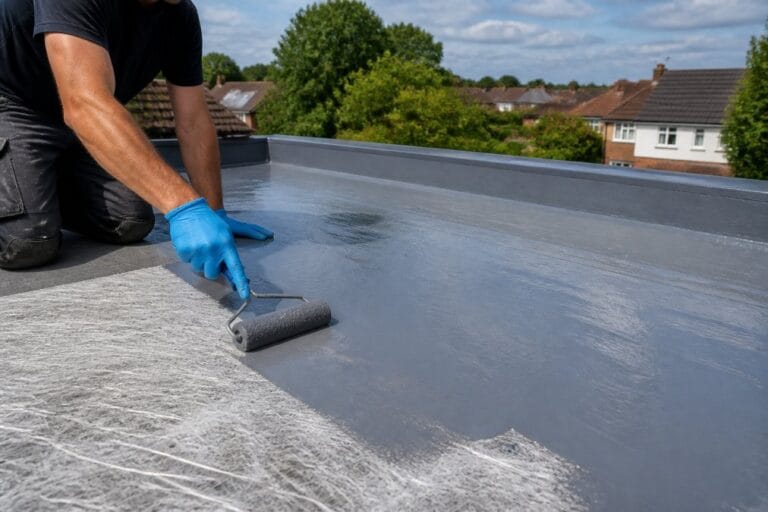
Once the boards are down, the waterproof covering goes on top. That might be a single-ply membrane, felt, or liquid system, depending on your build-up.
Finish the edges carefully. Upstands should rise high enough to keep water out, and all trims need to be fixed securely. Edges are where most leaks start.
Expected result: a continuous, sealed build-up with no gaps, no standing water, and a deck that stays warm.
Preventing Condensation in Flat Roof Extensions
Preventing condensation comes down to one principle: keep warm, moist air away from cold surfaces. In a flat roof, that means a continuous vapour control layer on the warm side and insulation that keeps the deck above dew point.
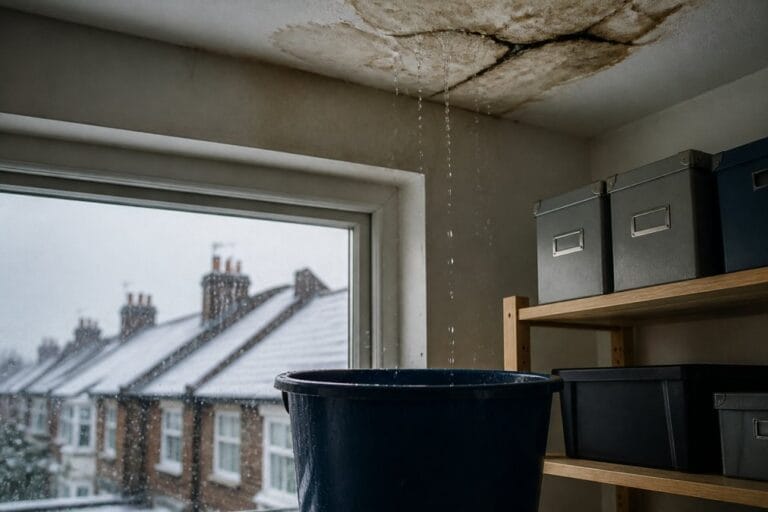
Interstitial condensation forms inside the build-up when warm air meets a cold surface. You won’t see it until timber starts to rot.
Three things keep it under control:
- A sealed, continuous vapour control layer
- Enough insulation to keep the deck warm
- Ventilation in the room below, especially kitchens and bathrooms
For more on how moisture behaves in roof build-ups, the Building Research Establishment publishes useful technical guidance.
If your extension has a bathroom or kitchen under it, pay extra attention. Those rooms push far more moisture into the air.
Common Mistakes to Avoid When Insulating a Flat Roof
Most flat roof insulation failures trace back to a handful of avoidable errors. None of them are complicated, which is what makes them so frustrating.
The big ones:
- Skipping the vapour control layer. Without it, moisture migrates into the build-up and condenses.
- Leaving gaps between boards. Every gap is a cold bridge and a path for damp.
- Wrong board thickness. You miss the target U-value and fail inspection.
- No fall to the outlet. Water pools, and the covering fails early.
- Poor edge detailing. Upstands and trims are where leaks begin.
Key Takeaway
The vapour control layer and the fall are the two details that decide whether your flat roof lasts. Get those right and most other problems never appear.
The vapour control layer and the fall are the two details that decide whether your flat roof lasts. Get those right and most other problems never appear.
If you’d rather not tackle this yourself, Evershield Roofing handles flat roof installations across Buckinghamshire and can survey your extension before any boards are ordered.
Insulating a flat roof extension is a job where the details decide the outcome. Get the build-up, the vapour control layer, and the fall right, and you’ll have a warm, dry extension that lasts.
If you’d rather leave it to a team that does this every week, Evershield Roofing offers free surveys and quotes, fully insured work, and finance options from 0% APR.
Frequently Asked Questions
Do I need building regulations approval to insulate a flat roof extension?
Yes. Insulating a flat roof extension is a controlled alteration, so it needs approval before work starts. You can apply through your local council’s building control team or use a registered competent person scheme. Your installer must show the build-up meets the Part L U-value target, usually 0.18 W/m²K for a flat roof, and building control will want to inspect the deck, insulation and covering at key stages.
What is the difference between warm roof and cold roof insulation?
A warm roof places insulation above the deck, so the structural timbers sit inside the heated envelope and stay warm. A cold roof keeps insulation between or below the joists, leaving a ventilated void above it. Warm roof build-ups are the usual choice for extensions because they avoid cold bridging and cut the risk of condensation forming on the underside of the deck.
Can I insulate a flat roof from the inside?
You can, but it is rarely the best route for an extension. Insulating below the deck creates a cold roof unless you maintain a ventilated void, and squeezing ventilation into an existing flat roof is difficult. It also lowers your ceiling height and can leave gaps at the joist ends. Insulating above the deck, as part of a warm roof, is simpler and performs better.
How do I prevent condensation when insulating a flat roof?
Fit a continuous vapour control layer on the warm side of the insulation, seal every lap and penetration, and keep the insulation above the deck so the timbers stay warm. Choose the right thickness for the U-value you need, and never leave voids between boards. If you are re-covering an old cold roof, adding ventilation at the eaves and upgrading the vapour barrier matters as much as the insulation itself.