How to Inspect Flat Roof Flashing: A Step-by-Step Guide
Inspect flat roof flashing twice a year with a simple ground-then-edge routine. Check the process now. Count: that is about 215 characters, too long.

Last Updated: November 10, 2026
Quick Summary
To inspect flat roof flashing, scan the roof edges, wall junctions and pipe collars from the ground with binoculars, then check from a safe roof edge for lifted metal, cracked sealant, corrosion and gaps. Inspect at least twice a year, and after storms.
- Inspect flat roof flashing at least twice a year, in spring and autumn.
- Add an extra check after any storm, heavy snow or prolonged rain.
- Start from the ground and only move to the roof edge if it is safe.
- Press gently on the metal; firmly fixed flashing does not flex or rattle.
- Never lean over the edge or put weight on a parapet cap.
Is your flat roof flashing letting water in?Evershield Roofing surveys flat roof flashing across Buckinghamshire, with free quotes and finance from 0% APR.
Table of Contents
- Why Flat Roof Flashing Matters for Leak Prevention
- How Often to Inspect a Flat Roof
- Flat Roof Inspection Checklist: What to Check Before You Climb
- Step-by-Step: How to Inspect Flat Roof Flashing from the Ground and Roof Edge
- Signs of Damaged Roof Flashing to Look For
- Flat Roof Flashing Repair: When a Patch Works and When It Doesn’t
- Booking Your Flat Roof Flashing Inspection with Evershield Roofing
- Frequently Asked Questions
Why Flat Roof Flashing Matters for Leak Prevention
Flat roof flashing is the thin metal or membrane strip that seals the joints where your roof meets walls, chimneys, vents and skylights. When it fails, water finds the gap first. Checking it regularly is one of the cheapest ways to stop a small problem becoming a ceiling stain.
Most homeowners never look at their flashing until water is already coming through. By then the damage often runs further than the visible leak. A quick inspection can catch lifted edges, cracked sealant or open seams before they let water in.
This guide from Evershield Roofing walks you through how to inspect flat roof flashing safely, what to look for, and when a repair is enough versus when you need professional help.
Watch out: Never climb onto a flat roof in wet, icy or windy weather. A slip on a wet membrane is one of the most common causes of serious roof falls.
How Often to Inspect a Flat Roof
Inspect your flat roof flashing at least twice a year, once in spring and once in autumn. For a fuller schedule to follow, see the Flat Roof Maintenance Checklist. Add an extra check after any storm, heavy snow or prolonged rain. Spring shows winter damage, and autumn lets you fix things before the wettest months.
Flat roofs need more attention than pitched roofs because water sits on them rather than running off. Standing water puts strain on the flashing at the edges, so those spots deserve closer checks.
| Inspection Trigger | Recommended Action |
|---|---|
| Spring and autumn | Full flashing check from the ground and roof edge |
| After a storm | Look for displaced flashing or debris |
| Heavy snow melt | Check for standing water near flashing |
| Ceiling stain appears | Inspect the nearest flashing point first |
Flat Roof Inspection Checklist: What to Check Before You Climb
Before you go up, gather what you need and check the basics from ground level. Good preparation makes the roof check quicker and safer.
- Binoculars or a zoom camera to view flashing from the ground
- A ladder rated for the job, placed on firm, level ground
- A torch for shaded areas and gaps
- A phone to photograph anything you find
- A notebook to record the location and condition of each defect
- Soft-soled shoes with good grip
Walk the perimeter first. Look at the parapet, the edge trims and the points where the roof meets the wall. Note anything obviously out of place, such as bent metal, gaps or dark stains running down the brickwork below.
Step-by-Step: How to Inspect Flat Roof Flashing from the Ground and Roof Edge
Start from the ground, then move to the roof edge only if it is safe to do so. Most flashing faults can be spotted without stepping onto the membrane, and a careful ground-first pass often tells you whether a closer look is needed at all.
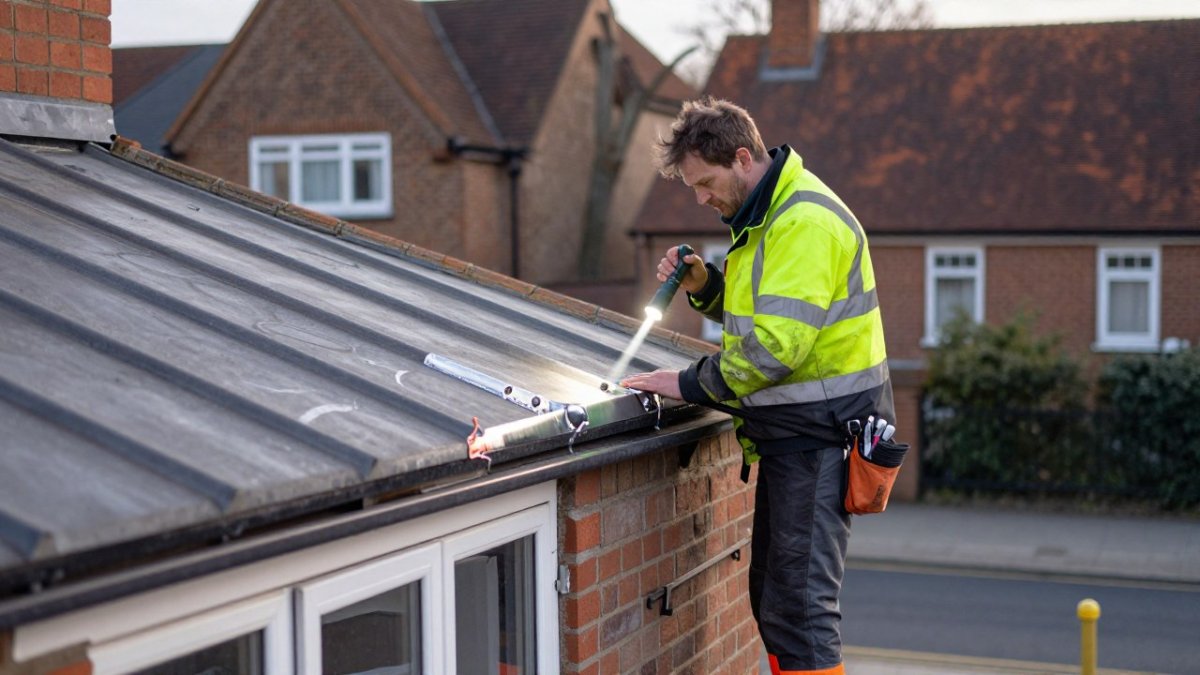
Work in a fixed order so you do not miss anything. Begin at the lowest point of the roof edge and move around the building in one consistent direction.
- Scan the perimeter with binoculars. Look along the top of every upstand and parapet for lifted, bent, displaced or missing metal. A flashing edge that sits even a few millimetres proud of the wall line is a sign it has been pushed by wind or by thermal movement.
- Check each roof-to-wall junction. Where the flashing turns up against brick or render, look for a clean, continuous line. A gap that you can see as a dark shadow, or a line where the sealant has split from the wall, means water can track behind the flashing.
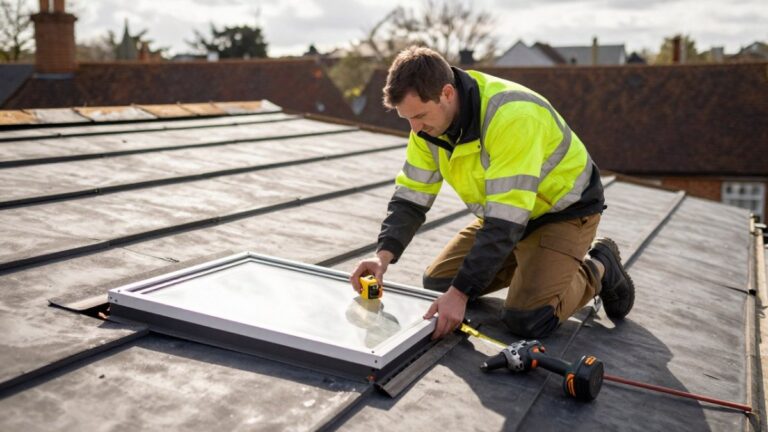
- Examine each penetration collar. Vents, flues and skylight kerbs each have a flashing collar. Check that the collar sits flat against the pipe and that no daylight shows between them.
- Look for staining and biological growth. A dark tide line or moss along the flashing edge shows where water has sat or run for a long time. Staining that runs straight down from a joint usually points to a failed lap or open seam above it.
- If it is safe, inspect from the roof edge. Stand only on a sound, dry section of the roof with a secure grip, and never on a fragile rooflight or a membrane that feels soft underfoot. From the edge, press gently on the metal. Firmly fixed flashing does not flex, while a loose sheet will move or rattle.
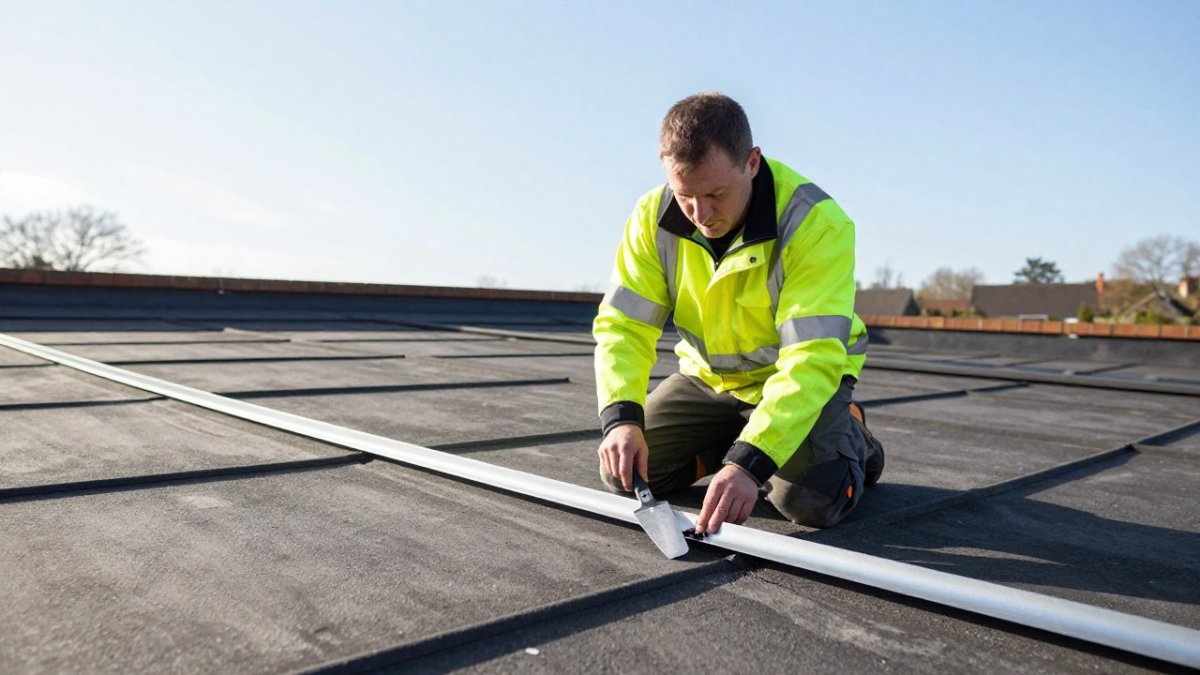
- Test the sealant. Cracked or shrunken sealant often looks intact from below. Run a flat, non-metal tool along the joint. Sealant that lifts in flakes, or that separates from the substrate with little resistance, has lost adhesion.
- Record each defect. Photograph it with a scale object such as a coin or a tape measure in shot, note its position against a rough sketch of the roof, and record the date and the weather that day.
How to tell the common faults apart:
- Failed sealant shows as cracking, shrinkage or a gap that runs along a single joint, with the metal itself still flat and fixed.
- Lifted edges show as a flashing sheet that no longer lies on its fixings, often with a shadow line beneath it.
- Corrosion appears as pitting, flaking or a white or brown bloom on metal, usually worst where water pools or where two different metals meet.
- Open laps are overlapping sections of flashing that have separated, leaving a visible line where water can enter the joint.
- Movement shows as fixings that have pulled through, or flashing that has sheared at a bend.
Urgency depends on the fault. Any lifted or displaced flashing where water is already reaching the interior should be treated as urgent, as should corrosion that has perforated the metal.
Watch out: Do not lean over the edge or put weight on a parapet cap to get a better view. Parapets are not designed to take a person’s weight, and a fall from a flat roof edge is one of the most serious risks in roof inspection.
Signs of Damaged Roof Flashing to Look For
Damaged flashing rarely announces itself with one dramatic failure. To compare what you have spotted against the wider picture, read our signs of roof leak damage guide. It usually shows a few small signs first. Spotting these early keeps repairs cheap.
- Lifted or curled edges where the metal no longer lies flat
- Cracked or split sealant along joints and corners
- Rust or pitting on metal flashing, especially at the edges
- Gaps between flashing and the wall that let water track behind
- Staining or moss on the wall below the flashing line
- Damp patches on ceilings near the roof edge after rain
Watch out: Dark staining on a wall beneath the roof edge often means water has been getting in for a while. Do not paint over it. Find the source first.
Flat Roof Flashing Repair: When a Patch Works and When It Doesn’t
The right repair depends on the flashing material, the extent of the failure and whether water has already reached the structure.
Start with the material, because each type responds differently to repair:
- Lead flashing can be reformed and dressed back into position if it is not cracked or thinned. Splits at folds usually need a lead patch soldered or lapped in place rather than sealant alone.
- Metal flashing such as aluminium or zinc can be cleaned, primed and sealed at corroded areas if the metal is still sound. Once perforated, it generally needs a replacement section.
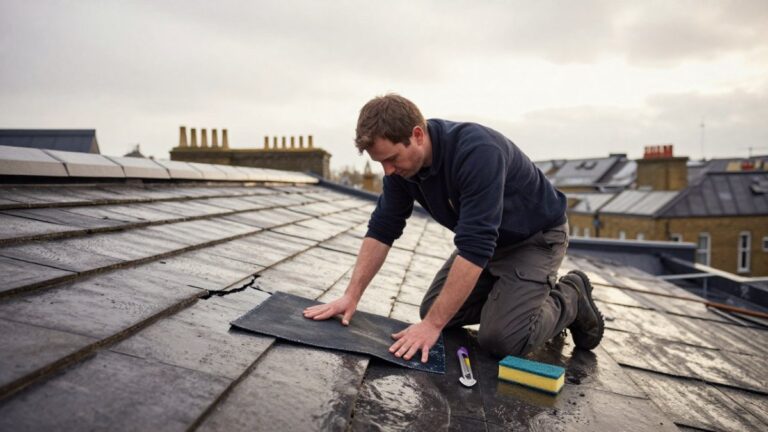
- Felt flashing responds well to a torch-on or cold-applied patch at the lap, provided the substrate beneath is dry and the felt is not brittle.
- Single-ply membrane flashing can often be repaired with a compatible heat-welded or adhesive patch, but the patch must match the membrane type. Mixing incompatible materials is a frequent cause of early failure.
- Liquid-applied systems can be spot-repaired by cleaning and recoating the defect, though the new coating must be compatible with the existing system and the surface must be dry.
Next, assess the extent of the failure. If standing water is part of the problem, our step-by-step standing water repair guide covers that fix.
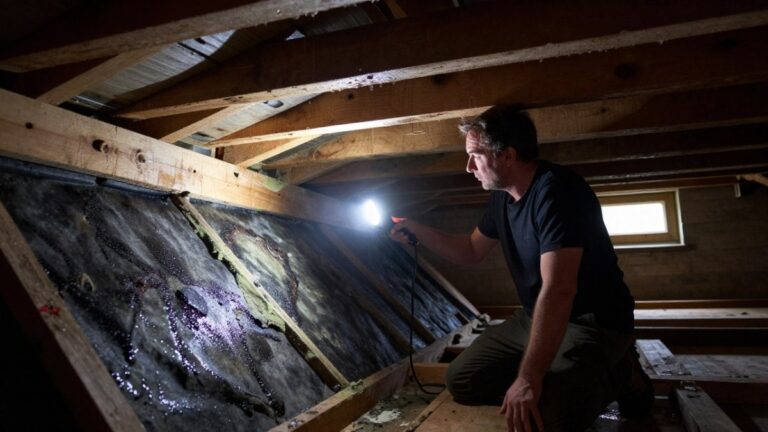
Finally, check for damage that a surface repair will not reach. If water has been entering behind the flashing, look for soft or discoloured timber at the edge, damp in the wall head, or staining on the ceiling below.
A note on the local climate: across Buckinghamshire and the wider Thames Valley, flat roofs experience a mix of heavy autumn rain, prolonged winter damp and occasional strong gusts. Those conditions tend to stress sealant and lap joints over several winters rather than in one event.
If you are unsure which situation you have, a professional survey will give you a definite answer. Evershield Roofing offers free surveys and quotes.
Booking Your Flat Roof Flashing Inspection with Evershield Roofing
A professional inspection goes further than a ground-level check. Our team has over 25 years of experience, is fully insured, and provides emergency roof repair when water is coming in.
If you have spotted any of the signs above, or your last inspection was more than six months ago, get in touch. There is always someone at the other end of the phone to answer your questions.
Stop water getting into your home before it reaches the ceiling. Get your free roof survey from Evershield Roofing today, with expert guidance at every step and a team that picks up the phone.
Frequently Asked Questions
How do you inspect flashing on a flat roof?
Start from the ground with binoculars and check the roof edges, upstands and the junctions where the roof meets walls, chimneys and vents. Look for lifted edges, gaps in sealant, cracked or split lead or metal, and bitumen that has pulled away. If you go onto the roof, keep to the sound areas, wear suitable footwear and avoid walking directly over flashing. Photograph each area and note its location so you can compare it at the next inspection. Anything you cannot see clearly from the ground or safely from the roof should be assessed by a professional.
Can damaged flat roof flashing cause a leak?
Yes. Flashing seals the points where water is most likely to get in: the junction between the roof and a wall, around penetrations and along upstands. When flashing lifts, cracks or loses its seal, rainwater can run behind the membrane and into the structure, often showing up first as a stain on a ceiling or inside a wall. Because the water can travel some distance before it appears, a leak inside the building does not always point directly to the damaged section. Early repair of flashing is usually far cheaper than repairing the wider roof and interior damage that follows.
How often should a flat roof be inspected?
Most flat roofs benefit from a visual check twice a year, typically in spring and autumn, plus a check after any severe storm. Inspect more often if the roof is older, is surrounded by trees that shed debris, or has had previous repairs. Clear gutters and outlets of leaves and moss during each check, because standing water accelerates wear on flashing and seams. Keep a simple record of dates and findings so you can see whether a defect is getting worse over time.
When should you call a roofer to inspect flat roof flashing?
Call a roofer if you see any lifted, cracked or missing flashing, if water is pooling near upstands or penetrations, or if you notice staining or damp inside the building. You should also get professional help if you are unsure what you are looking at, or if the roof edge or access points are unsafe to reach. Evershield Roofing offers free surveys and quotes, so a qualified check can confirm whether a patch will do or whether the flashing needs replacing.