How to Repair Damaged GRP Fibreglass Roofing
How to repair damaged GRP fibreglass roofing starts with a safe ground inspection, then a clean, dry, layered resin repair.

Quick Summary
To repair damaged GRP fibreglass roofing, first inspect the roof from the ground for ponding, staining, gaps and loose trim, then identify whether the fault is a crack, split or blister. Clean and dry the area thoroughly, cut glass fibre matting larger than the damage, and bond it with resin in layers. Allow the repair to cure fully, and call a qualified roofer for splits, large areas or edge damage. This is how to repair damaged GRP fibreglass roofing safely.
- Inspect the roof from the ground first and never walk on a fibreglass roof to check it.
- Cracks need repair within a few months, while splits should be repaired as soon as possible.
- Most leaks start at flashing and roof-to-wall junctions, so check these carefully.
- Dry the roof for at least two days and sand the edges before applying any resin.
- Cut matting about 50mm larger than the crack and let the repair cure fully before use.
Table of Contents
- How to Inspect Your GRP Roof From the Ground First
- Identifying Cracks, Splits and Blisters in Fibreglass
- Preparing the Surface for a GRP Roof Repair
- Step-by-Step: Making the Repair With a GRP Roof Repair Kit
- What a GRP Roof Repair Costs in the UK
- Fixing Standing Water and Flat Roof Drainage Problems
- Booking Your Evershield Roof Survey
- Frequently Asked Questions
How to Inspect Your GRP Roof From the Ground First
Last Updated: November 11, 2026
Most GRP roof damage can be spotted from the ground before anyone climbs a ladder, so knowing how to repair damaged GRP fibreglass roofing starts with a careful look from below.
Start with a pair of binoculars, a torch and a notepad or phone for photos. Stand back far enough to see the whole roof, then work around the property in a slow circle. Look for these warning signs:
- Ponding water that sits for more than a day after rain
- Dark streaks or staining on the roof surface or fascias
- Gaps or lifting at the edges, corners and roof-to-wall joins
- Loose or missing trim around the perimeter
- Debris or moss collecting in low spots or against upstands
Note where each problem appears and take a clear photo. Dated photos make it easier to track changes over time.
A common mistake is ignoring a small patch of discolouration because it looks cosmetic. Staining often marks water that has already found its way under the surface.
Do not walk on a fibreglass roof to check it (Health and safety in roof work).
Identifying Cracks, Splits and Blisters in Fibreglass
Cracks, splits and blisters are the three most common faults in a GRP roof, and each one needs a different response. Knowing which you are looking at helps you decide how urgent the repair is.
A crack is a thin line in the resin surface, often caused by thermal movement or a knock from a falling branch. If you suspect the damage came from a storm, learn how to identify storm damage on your roof and document it for an insurance claim.
Use this quick guide to sort what you have found:
| Fault | What it looks like | Urgency |
|---|---|---|
| Hairline crack | Fine line, surface only | Plan a repair within a few months |
| Split | Open gap, may show light or stain | Repair as soon as possible |
| Blister | Raised bubble, may feel soft | Monitor, repair if it grows or cracks |
Blisters deserve special care. Pressing on one to test it can crack the surface and make the damage worse. Look at how it changes over several weeks rather than poking it.
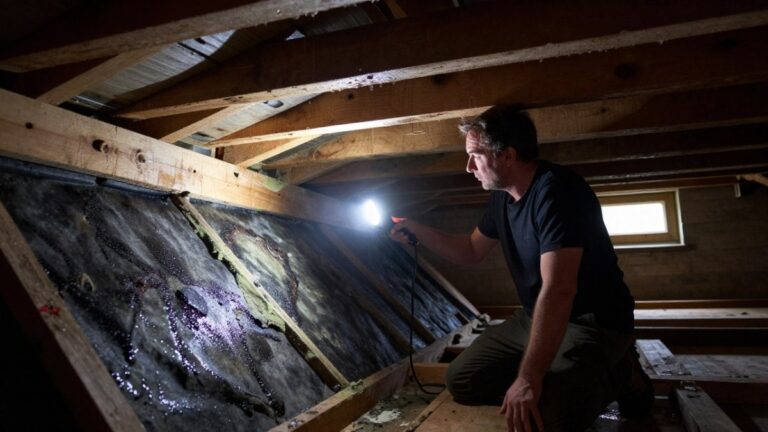
Watch out: a split that is hidden under a stain can let water in for months before any drip appears inside. If you see staining near a split, do not wait for a ceiling leak.
Checking Flashing and Roof-to-Wall Junctions
Flashing is the strip of material that seals the roof where it meets a wall, chimney, skylight or other upright surface. Where flashing or a chimney join has failed, our chimney repairs team can assess and seal the junction properly.
From the ground, look along the line where the roof meets the wall. Check for:
- Gaps or lifting between the flashing and the wall
- Cracked or dried sealant around the edges
- Rust or corrosion on metal flashing
- Dark staining running down the wall beneath the junction
Metal flashing usually lasts longer than sealant, so sealant that has dried or split often needs replacing sooner. Lead, aluminium and steel each age differently.
The flashing at a junction is often the cheapest part to fix and the most expensive to ignore. A damaged flashing can let water run behind the roof covering, where it rots timber and stains plaster before it shows at all.
Preparing the Surface for a GRP Roof Repair
A GRP repair only lasts as long as the surface under it, so preparation matters more than most homeowners expect. Rushing this stage is the main reason patch repairs fail within a year or two.
Work through these steps before any resin goes on:
- Dry the roof. Wait for at least two dry days so the surface and the crack are free of moisture.
- Clean the area. Remove moss, grit, leaves and loose paint with a stiff brush. Wipe the surface with a solvent recommended by the resin manufacturer.
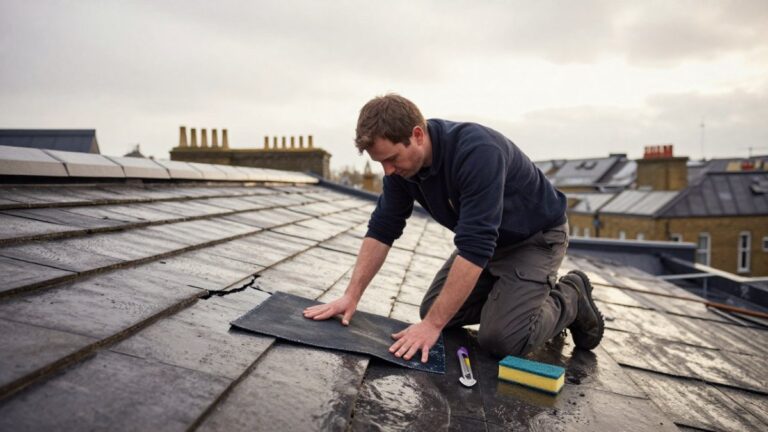
- Remove loose material. Scrape away any flaking laminate until you reach sound material.
- Sand the edges. Lightly abrade the surrounding surface so the new resin can bond to it.
- Check the surface again. Run a hand over the area. Any soft or spongy spot needs more work before you continue.
A common mistake is painting over a crack without cleaning it first. The coating looks neat for a few months, then lifts along the crack because it never bonded properly.
Step-by-Step: Making the Repair With a GRP Roof Repair Kit
A GRP roof repair kit gives you everything needed for a small, straightforward repair. Most kits include resin, glass fibre matting, a hardener and a roller or brush. Read the kit’s instructions before you start, because mixing ratios and curing times vary between products.
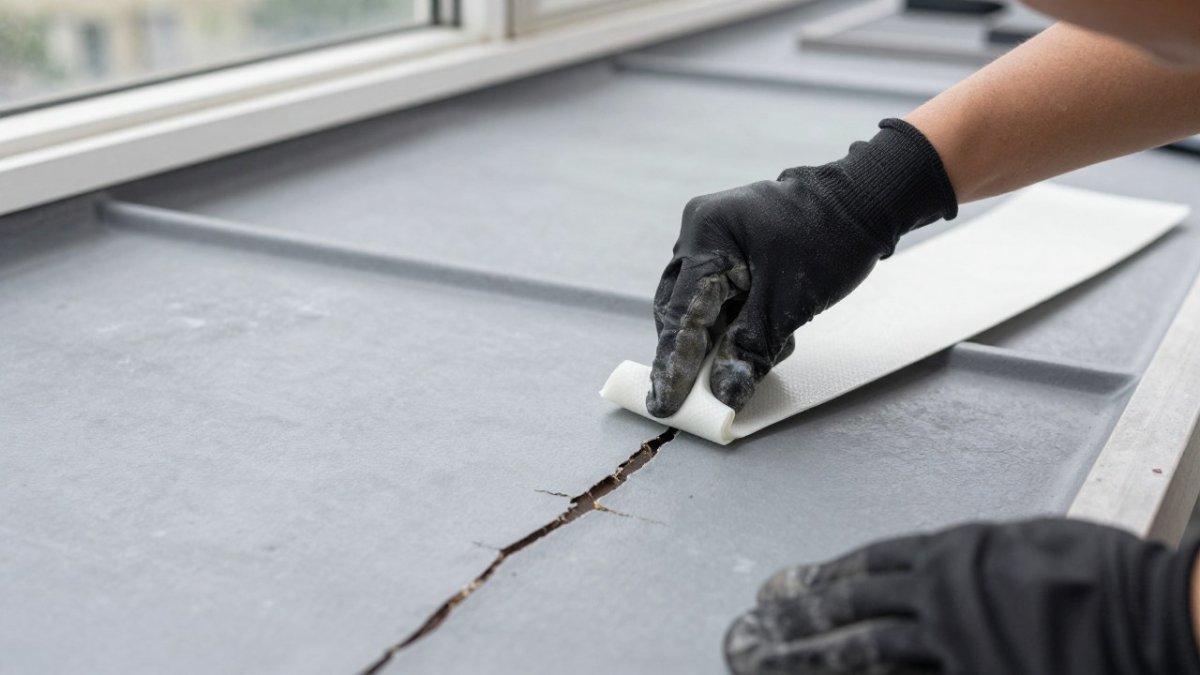
Work in these steps:
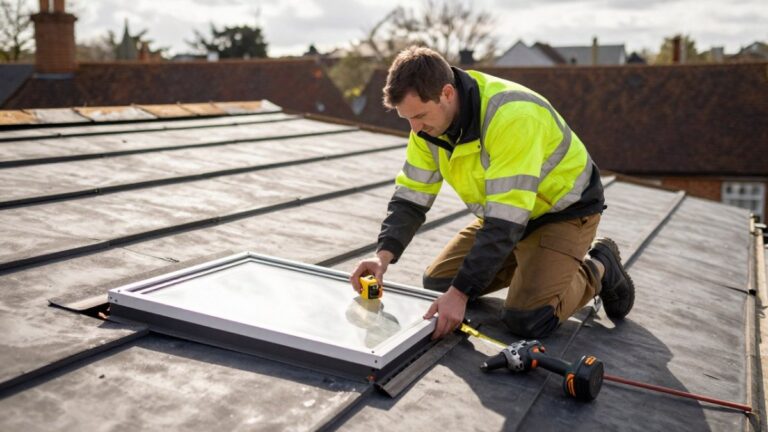
- Cut the matting. When learning how to repair damaged GRP fibreglass roofing, cut a piece of glass fibre matting about 50mm larger than the crack on every side.
- Mix the resin. Measure the resin and hardener exactly as the instructions say. Mix only what you can use within the working time.
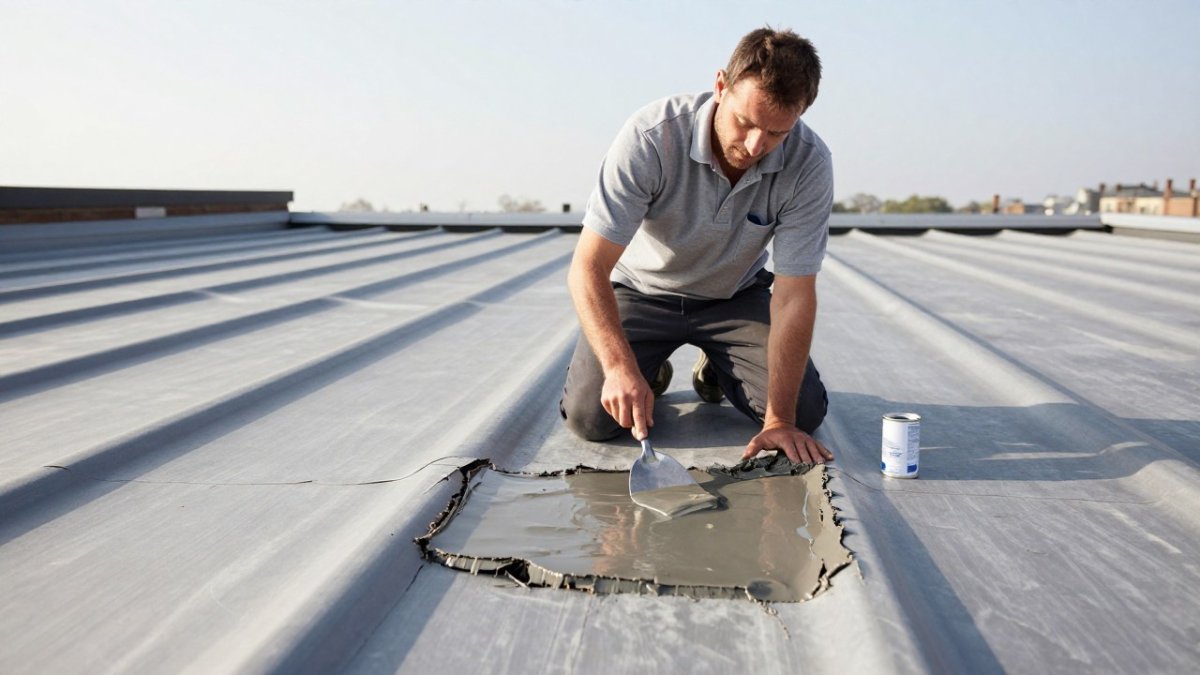
- Wet the crack. Brush resin over the crack and the area around it.
- Lay the matting. Press the matting into the wet resin and saturate it fully, removing any air bubbles with the roller.
- Add a second layer if needed. For a split, a second layer of matting often gives a stronger result.
- Finish the surface. Brush on a final coat of resin and feather the edges so the repair blends in.
- Let it cure. Leave the repair undisturbed until fully hardened. Cold or damp weather can slow curing by many hours.
Preparation and curing add time to any patch repair, so plan around the working time of the resin you use. Check the repair after a few weeks and again after the next heavy rain.
Watch out: resin cured in cold or damp conditions can stay tacky and fail early. If the weather turns, stop and wait for better conditions.
What a GRP Roof Repair Costs in the UK
Repair costs vary with the size of the damage, the access to the roof and the amount of preparation needed. The cost of your repair depends on your roof’s condition and the work required. Because roof condition and preparation affect repair costs, regular GRP conservatory roof maintenance can help identify issues before they require more extensive work.
Costs usually depend on:
- The size and number of faults across the roof
- Access, including scaffolding or a height restriction
- Flashing and trim work at junctions and edges
- Whether the timber deck needs repair beneath the membrane
For budgeting, a survey is the best starting point. Many homeowners find that a small repair grows into a larger job once the surface is opened up, so ask for a clear written breakdown before you agree to any work.
Fixing Standing Water and Flat Roof Drainage Problems
Standing water is one of the most common causes of premature failure on a flat or low-pitched GRP roof, but the reason is mechanical rather than cosmetic. Where a flat roof needs its drainage and surface reworked as a whole, our flat roofs service covers this kind of work.
Start by checking the water route from the highest point to the outlet. On a GRP roof, the fall is usually created by the deck or by tapered insulation, and the surface should shed water within a day of rain. Look for these faults:
- Blocked outlets and gullies. Leaves, grit and moss collect at the outlet and slow the flow. Clear them by hand and flush with water, then check that the outlet drains freely rather than backing up.
- Sagging or low spots. A dip that holds water after a dry spell means the fall has been lost, usually because the deck has sagged or the insulation has compressed. A dip cannot be fixed by cleaning the outlet; it needs levelling before the GRP is repaired.
- Gutter and downpipe faults. A gutter that overflows onto the roof edge, or a downpipe that discharges onto the roof rather than into a drain, adds water to the surface and can erode the edge trim.
- Upstand and outlet detailing. Where the outlet meets the GRP, the bond can fail and let water track under the surface. Check for staining or softness around the outlet collar.
Clear debris from outlets at least twice a year, and more often if the roof is under trees.
Levelling a low spot is not a matter of pouring filler into the dip. The usual approach is to build up the fall with tapered insulation or a suitable repair board, then re-laminate the GRP over it so the surface drains.
Watch out: sealing over a ponding area without correcting the fall traps water under the repair and speeds up delamination. Fix the drainage first, then repair the surface.
Booking Your Evershield Roof Survey
Choosing a roofer matters as much as choosing the repair method.
Evershield Roofing also offers finance from 0% APR, so a larger repair or replacement can be spread over time. If you are dealing with a leak or storm damage, our roof repairs team is available to help, and where the existing roof has reached the end of its life, we can also advise on a new roof installation.
To get started, call our team or request a free survey. We will walk you through what we find, explain your options and answer any questions before any work begins.
Frequently Asked Questions
Can you repair a cracked GRP roof yourself?
Small surface cracks can be repaired with a suitable kit if the roof is safe to access and the weather is dry.
How long does a GRP roof repair last?
A well-prepared repair on a sound roof can last for many years.
Is standing water on a flat roof always a problem?
Shallow water that drains within a day is less of a concern.
Frequently Asked Questions
How do you repair a damaged GRP fibreglass roof?
Start by cleaning the area and removing loose material, then cut a piece of fibreglass matting slightly larger than the damage. Apply resin to the surface, lay the matting in, and saturate it with more resin until it is fully wetted out. Smooth the surface and allow it to cure fully before walking on it. Small cracks and splits can be repaired this way, but larger areas of delamination usually need the damaged section cut out and replaced.
Can you patch a GRP fibreglass roof?
Yes, a GRP roof can be patched with a GRP roof repair kit, provided the damage is localised and the substrate underneath is sound. Patches work best on cracks, pinholes and small splits. Where the fibreglass has lifted from the timber or the surface is widely crazed, a patch will not hold for long and a larger section or a full overlay is the more reliable fix. A professional survey can assess which approach suits your roof.
How long does GRP roof repair take to cure?
Curing time depends on the resin, the temperature and the humidity. Curing times vary by resin, and the manufacturer’s data sheet gives the timings for a specific product. Cold, damp conditions slow curing considerably. Check the manufacturer’s data sheet for the specific product, and avoid repairing in rain, frost or when the surface is wet.
When should a damaged fibreglass roof be replaced rather than repaired?
Consider replacement when damage is widespread, when the fibreglass has delaminated from its base, when the timber decking beneath is soft or rotten, or when repairs have failed repeatedly in the same area. Patch repairs are a sensible fix for isolated defects, but repeated patching on an ageing roof can cost more over time than a new GRP overlay. A professional survey will help you decide which option makes sense.