How to Stop Roof Leaks Quickly: Emergency Guide
Stop roof leaks quickly with our step-by-step emergency guide. Learn temporary fixes, find leak sources, and when to call a professional roofer. Discover.

Table of Contents
- Act Immediately: Stop Water Damage Before It Spreads
- What You’ll Need: Tools and Materials for Emergency Repair
- How to Find a Roof Leak Source Accurately
- Temporary Roof Leak Patch: Quick Fixes That Hold
- Emergency Roof Repair in Buckinghamshire: When to Call a Professional
- Safety Precautions Before You Start
- After the Temporary Fix: Next Steps to Permanent Repair
- Conclusion
Last Updated: August 27, 2026
Act Immediately: Stop Water Damage Before It Spreads
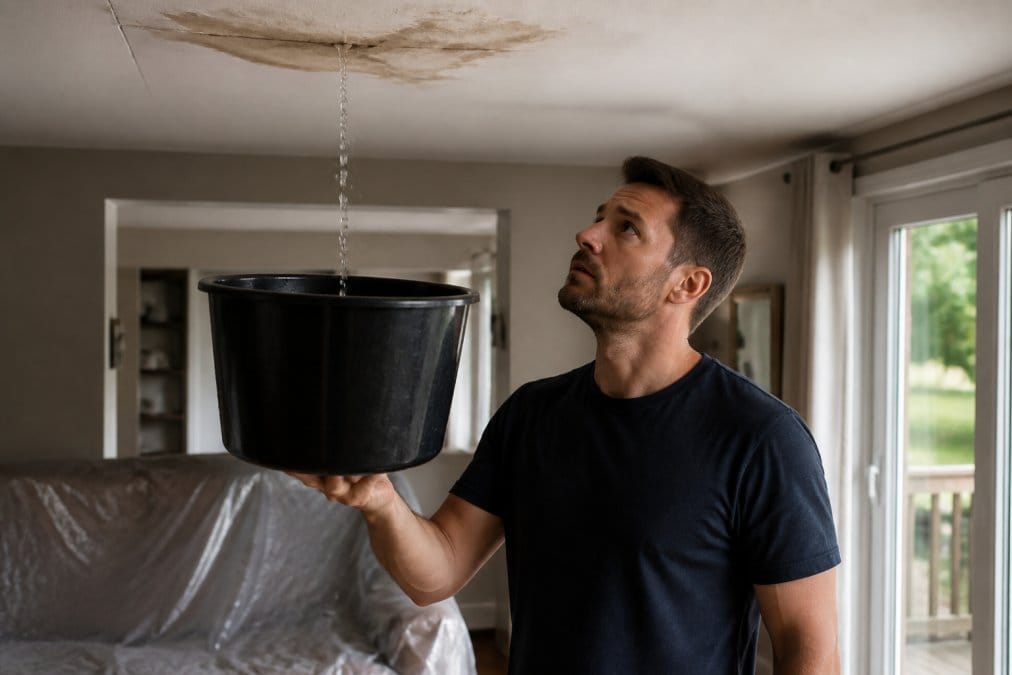
Water pouring through your ceiling is a crisis that demands instant action. The first few hours determine whether you contain the damage or watch it spread through your home’s structure. At Evershield Roofing, we’ve responded to countless emergency calls where homeowners lost precious time debating next steps instead of acting. Here’s what matters right now: stop the water, protect your belongings, and stabilise the situation before calling for professional help.
The goal of these first actions isn’t to fix the roof leak permanently. It’s to buy yourself time and prevent water from soaking into insulation, drywall, and timber that takes weeks to dry and costs thousands to replace.
Move valuables away from the leak
Your first instinct should be to grab anything directly under the leak. Electronics, documents, furniture, and anything water-sensitive needs to move immediately. Don’t worry about the ceiling itself yet, focus on what’s below it.
If the leak is in an upper room, check the rooms directly beneath. Water doesn’t always fall straight down. It travels along timber beams, follows electrical conduits, and pools in unexpected places. Move items from a wider area than you think necessary. This includes checking lofts and any spaces above the affected room.
Catch water with buckets or tarps
Place buckets under active drips. Use large storage containers, not small kitchen buckets, they fill quickly and overflow. Position them where they’ll catch the water stream, not where they’ll be in your way as you move around.
For heavier flows, lay down plastic sheeting or heavy-duty tarps on the floor. This protects carpets and flooring while you assess the situation. Tarp placement also helps you see where water is actually pooling, which gives clues about the leak’s true location.
If water is coming through in multiple places, you’re likely dealing with a significant roof breach. This is when you should call a professional immediately. Don’t attempt to patch a roof with widespread damage yourself.
What You’ll Need: Tools and Materials for Emergency Repair
Before you climb onto a roof or into a loft, gather these essentials. Having everything at hand prevents trips back downstairs and keeps you focused.
Safety equipment:
- Sturdy ladder (ensure it’s on level ground)
- Non-slip shoes or boots with good grip
- Torch or headlamp (loft spaces are dark)
- Gloves (roof materials and insulation irritate skin)
- Safety glasses to protect eyes from debris
Inspection tools:
- Binoculars (to spot damage from ground level first)
- Probe or screwdriver (to test soft spots in timber)
- Measuring tape
- Notebook to record findings
Temporary repair materials:
- Roofing sealant or tar-based patching compound
- Patching tape (designed for roofs, not standard duct tape)
- Plastic sheeting or heavy-duty tarp
- Roofing nails or fasteners appropriate to your roof type
- Bucket for carrying materials up the ladder
The quality of these materials matters. Cheap sealant cracks within weeks. Proper roofing tape holds through weather changes. Invest in materials rated for outdoor use and roof repairs specifically, not general-purpose alternatives.
How to Find a Roof Leak Source Accurately
Finding where water actually enters is harder than it looks. Water travels along surfaces before dripping, so the spot where it falls inside isn’t where it enters the roof. You’re looking for the breach point, not the symptom.
Trace water stains to their origin
Start inside, in the loft or attic space. Look at wooden beams, insulation, and the underside of roof decking. Water stains show the path water has taken. They appear as dark discolouration, mould growth, or damp patches.
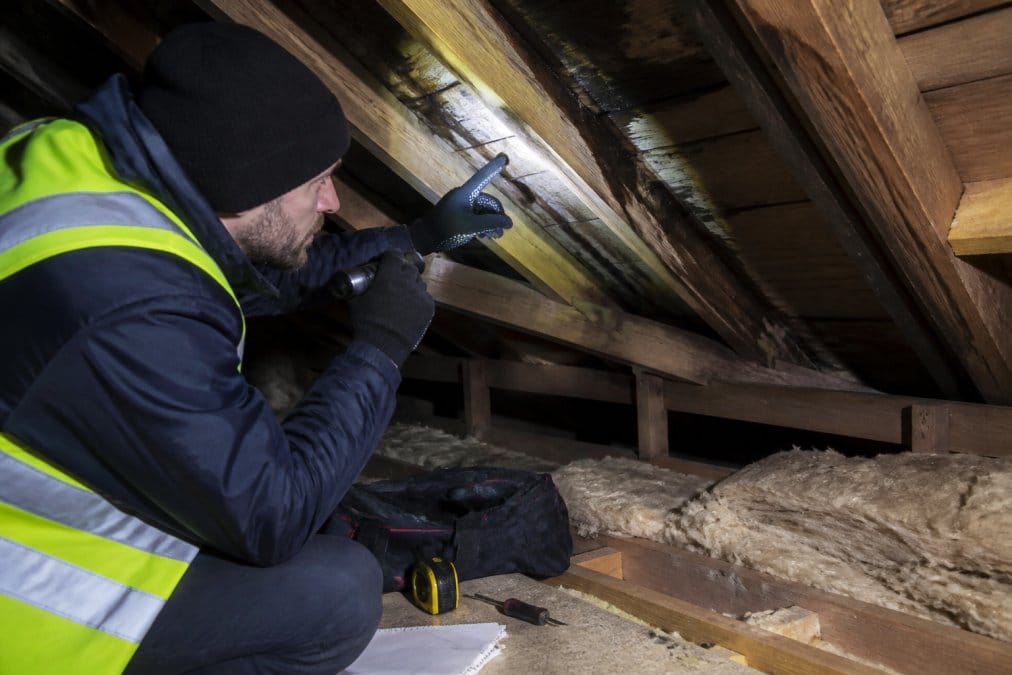
Follow the stain upward and sideways. Trace it to where it connects to the roof structure. The highest point where you see moisture is closest to the actual breach. Mark this spot, it’s your starting point for external inspection.
Check the insulation carefully. Wet insulation loses its thermal properties and develops mould. If insulation is saturated, it will need replacing once the roof is fixed.
Check common leak points
Roof leaks cluster around specific weak points. These are where water finds its way through:
- Flashing around chimneys and vents (most common source)
- Valleys where two roof slopes meet
- Areas where roof materials overlap or join
- Damaged or missing roof tiles or slates
- Cracks in mortar or sealant around penetrations
- Gutters that are blocked or pulling away from the fascia
Start your external inspection at these locations. Look for visible cracks, gaps, missing sections, or areas where sealant has crumbled. Flashing should sit flush against the roof, if it’s lifted or separated, water gets underneath.
Look for visible damage from inside the loft
Before going onto the roof, examine the underside of the roof structure from inside. Daylight coming through indicates a breach. You might see holes, cracks, or areas where tiles have slipped.
If you can safely access the loft without disturbing insulation or creating safety hazards, this inspection often pinpoints the problem without needing to climb onto the roof itself. Many homeowners discover the leak source this way and can describe it precisely to a professional.
Temporary Roof Leak Patch: Quick Fixes That Hold
Once you’ve located the leak source, a temporary patch buys time before permanent repairs. These fixes aren’t permanent solutions, they’re emergency measures designed to last weeks or months, not years.
Using roof sealant and patching tape
Roof sealant works best on small cracks, gaps around flashing, or areas where mortar has deteriorated. Clean the area first, remove loose material, debris, and any old sealant. A wire brush or scraper works well for this.
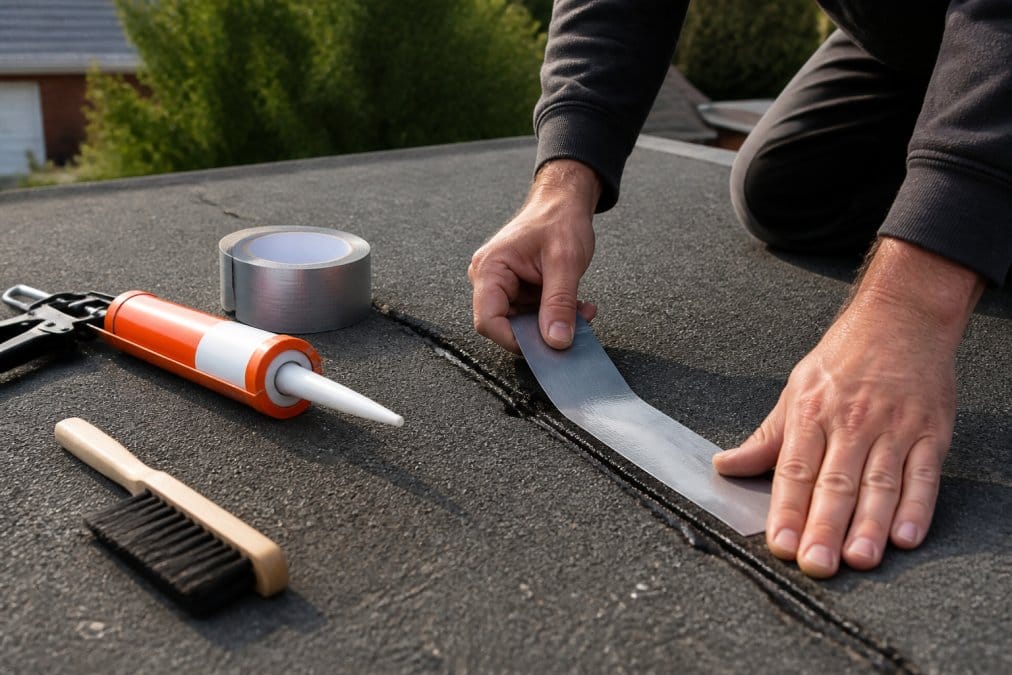
Apply sealant in a continuous bead, filling the gap completely. Smooth it with a wet finger or putty knife to ensure it makes contact with both sides of the gap. Patching tape goes over cracks or small holes, clean the area, apply the tape, and seal the edges with sealant (FEMA guidance on roof replacement).
Let sealant cure fully before exposing it to rain. Check the product instructions for curing time. Most modern roof sealants cure within 24 hours, but some take longer in cold or damp conditions.
This approach works for cracks smaller than 5mm (peer-reviewed research on crack repair). Larger gaps or structural damage requires professional repair.
Applying a temporary tarp from the outside
For larger breaches or missing tiles, a tarp provides immediate protection. Tarps don’t fix the problem, but they stop water entering while you arrange permanent repairs.
Position the tarp to cover the damaged area and extend at least 1 metre beyond it in all directions. Secure it with roofing nails, not regular fasteners. Space nails every 30cm around the perimeter. Use battens (timber strips) under the tarp edges to distribute pressure and prevent tearing.
Check the tarp regularly. Wind can lift edges, and pooling water can create weak spots. Reposition or resecure if you notice movement.
Get Your Free Roofing Quote Today! →
Tarps are temporary because they trap moisture underneath and can cause rot if left in place too long. They’re a bridge solution, not a permanent fix.
Interior containment while waiting for repairs
If you can’t access the roof or weather prevents external work, focus on protecting the interior. Plastic sheeting taped to ceiling joists creates a temporary barrier that directs water into buckets rather than soaking through to rooms below.
This requires careful taping to ensure water runs along the plastic rather than finding gaps. Position buckets at the lowest points where water will collect. Change buckets regularly and monitor the situation.
Interior containment isn’t weatherproof and won’t stop the leak, it just manages the water while you arrange professional help. It’s a temporary measure that might last days, not weeks.
Emergency Roof Repair in Buckinghamshire: When to Call a Professional
Not every leak requires emergency repair, but some situations demand immediate professional attention. Knowing when to call prevents further damage and stops minor problems becoming expensive disasters.
Signs you need immediate professional help
Call a roofer urgently if you see:
- Multiple leak points (suggests widespread roof failure)
- Water coming through walls or affecting electrical systems
- Sagging roof sections or visible structural damage
- Flashing that’s completely separated or missing
- Large missing tiles or slates across an area
- Mould growth that’s spreading or affecting large areas
- Damage from storm or impact that’s clearly visible
If you’re not confident climbing onto a roof or accessing a loft safely, that’s also a reason to call a professional. A fall from height causes serious injury. A roof repair isn’t worth risking your safety.
Weather conditions matter too. Don’t attempt roof work in rain, high wind, or when surfaces are wet and slippery. Wait for dry conditions or call a professional who has the equipment and experience to work safely in difficult weather.
What to tell the roofer when you call
Describe what you’ve found, not just where water is coming in. Tell them:
- Location of water entry (which room, which part of roof)
- How long the leak has been occurring
- Whether it’s a single drip or flowing water
- Any visible damage you’ve spotted (missing tiles, damaged flashing, etc.)
- Whether you’ve applied temporary fixes and what you used
- Your urgency level (is it spreading, affecting electrics, etc.)
This information helps the roofer prepare for what they’ll find and assess whether it’s truly an emergency or can wait for a scheduled appointment.
Evershield Roofing responds to emergency calls across Buckinghamshire. When you call, you’ll speak to someone who can assess your situation immediately and arrange urgent visit if necessary. We understand that roof leaks don’t wait for convenient scheduling, and we’re here when you need us.
Safety Precautions Before You Start
Roof work carries real risks. Falls, slips, and falls from height cause serious injuries. Before you attempt any roof access, consider whether it’s genuinely safe.
Ladders are the most common injury point. Ensure yours is in good condition, positioned on level ground, and secured at the top if possible. Have someone hold the base while you climb. Wear shoes with good grip, trainers with worn soles cause slips.
Roof surfaces are slippery, especially when wet or covered with moss. Even dry roof tiles offer poor grip. Move slowly and deliberately. Don’t reach or stretch, reposition the ladder instead. One slip costs far more than the price of professional help.
Check the weather before starting. Don’t work on a roof in rain, wind, or when surfaces are wet. Wet tiles become skating rinks. Wind can knock you off balance. Mist and low cloud reduce visibility and make judging distance difficult.
Wear appropriate clothing. Long sleeves and trousers protect skin from rough materials. Gloves prevent splinters and provide grip. Safety glasses protect eyes from debris. A hard hat protects against bumps and falling objects.
If you’re uncomfortable with heights, don’t force yourself. Vertigo and fear of heights are real, and panic on a roof leads to accidents. Call a professional instead. This isn’t cowardice, it’s sensible risk management.
After the Temporary Fix: Next Steps to Permanent Repair
Temporary patches are holding measures. They’ll fail eventually, usually when weather worsens. Plan for permanent repair rather than assuming a temporary fix will last.
Schedule professional inspection and repair within days of discovering a leak, not weeks. The longer you wait, the more damage water causes to hidden areas. Insulation, timber, and electrical systems all suffer from prolonged exposure to moisture.
When you call for permanent repair, describe what you’ve found and what temporary measures you’ve taken. If you’ve applied sealant or tape, the roofer will remove it and assess the underlying damage. This helps them understand how long the leak has been active and how much hidden damage to expect.
Permanent repair depends on the cause. Flashing issues require re-flashing or replacement. Missing or damaged tiles need replacement. Structural damage to timber or decking requires more extensive work. Only a professional inspection reveals the true scope of work needed.
Evershield Roofing provides free surveys and quotes for roof repairs. We inspect the full extent of damage, explain what’s needed, and provide a clear quote before starting work. If temporary fixes have been applied, we assess the underlying damage and advise on the best permanent solution.
Water coming through your ceiling demands immediate action, but panic helps no one. Move valuables, contain the water, and locate the leak source. These first steps protect your home while you arrange professional help.
Temporary patches buy time, but they’re not solutions. Professional repair stops the problem permanently and prevents the hidden damage that costs far more than the initial repair. Evershield Roofing responds to emergency roof repair calls across Buckinghamshire and provides permanent solutions that protect your home for years. Get your free roofing quote today and stop worrying about what the next rainstorm will bring.
Frequently Asked Questions
Q: How do I stop a roof leak temporarily until a roofer arrives?
A: Use waterproof roof sealant or patching tape on the leak source if you can access it safely from inside. For exterior access, apply a temporary tarp secured with rope or clips across the damaged area. Inside, place buckets under the leak and use towels to direct water flow away from valuables. These temporary fixes buy time until professional repair.
Q: What's the best way to find a roof leak source?
A: Trace water stains on ceilings and walls back to their highest point, as water often runs downhill before dripping. Inspect the loft space with a torch for damp patches, discoloured wood, or mould. Check common leak points: around chimneys, where roof meets walls, damaged flashing, and cracked tiles. On the roof itself, look for missing tiles, gaps in mortar, or lifted slates. If the leak isn't obvious, a professional roofer can help locate hidden damage.
Q: When should I call a professional roofer for a leak?
A: Call immediately if water is entering multiple rooms, the leak is spreading rapidly, structural damage is visible, or you see sagging ceilings. Also contact a professional if the leak is near electrical wiring, the roof is steep or unsafe to access, or the damage extends beyond a small area. For emergency roof repair in Buckinghamshire, Evershield Roofing offers urgent response to leaks. Don't delay, water damage worsens quickly and costs more to repair the longer it sits.
Q: Can I fix a roof leak from the inside?
A: Minor leaks can be contained from inside using sealant applied to the leak point if accessible from the loft, but this is temporary only. Interior fixes don't address the root cause, damaged tiles, flashing, or mortar, so the leak will return. Permanent repair requires accessing the roof exterior to replace damaged materials or re-seal flashing. Interior work is best for damage control while waiting for professional repair, not as a lasting solution.